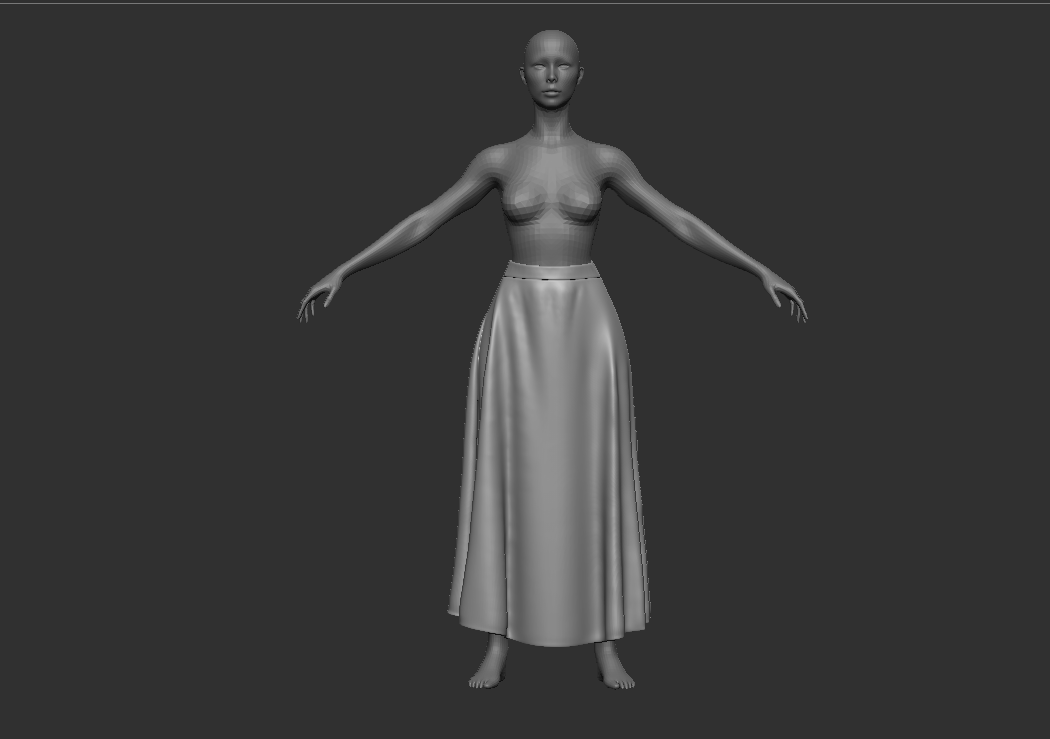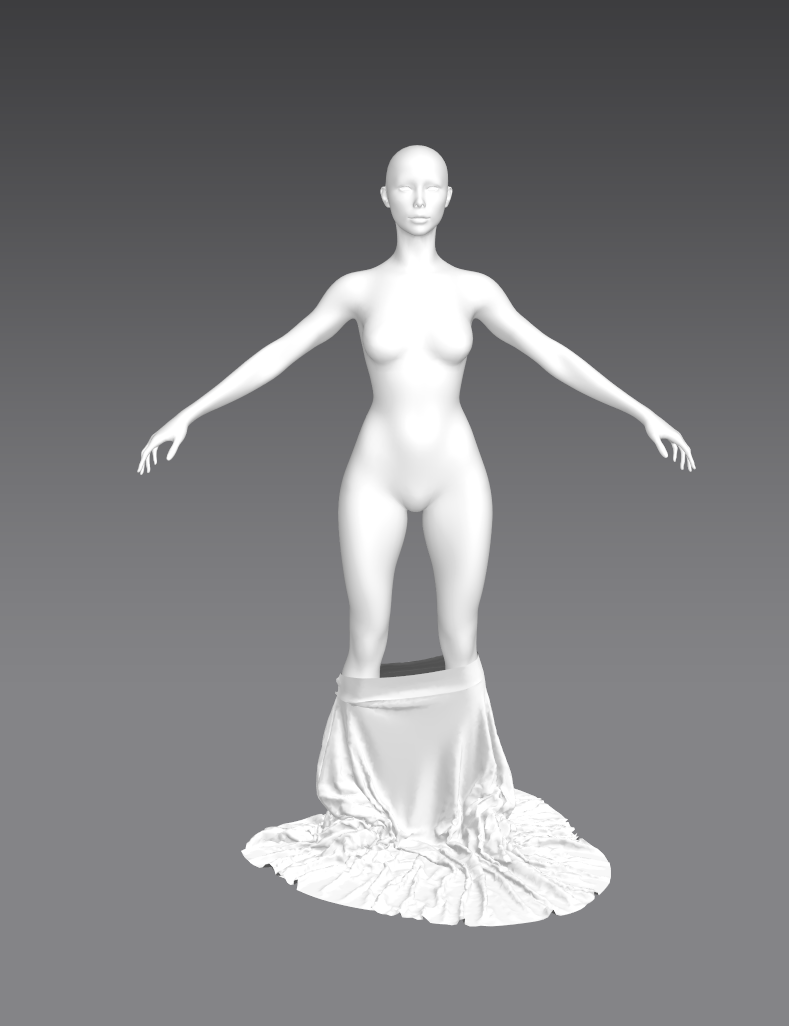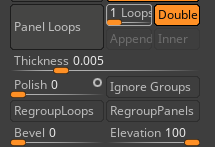


Result
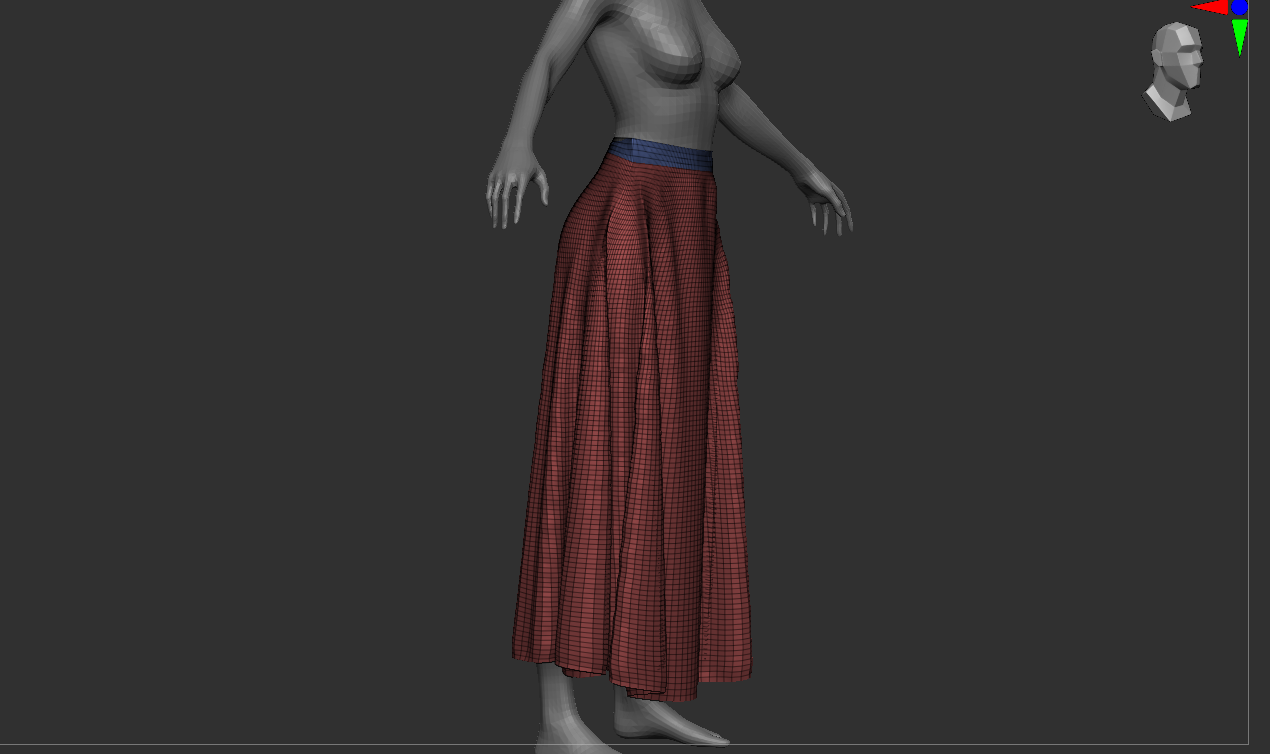
Step 1: Create and export a long dress in Zbrush
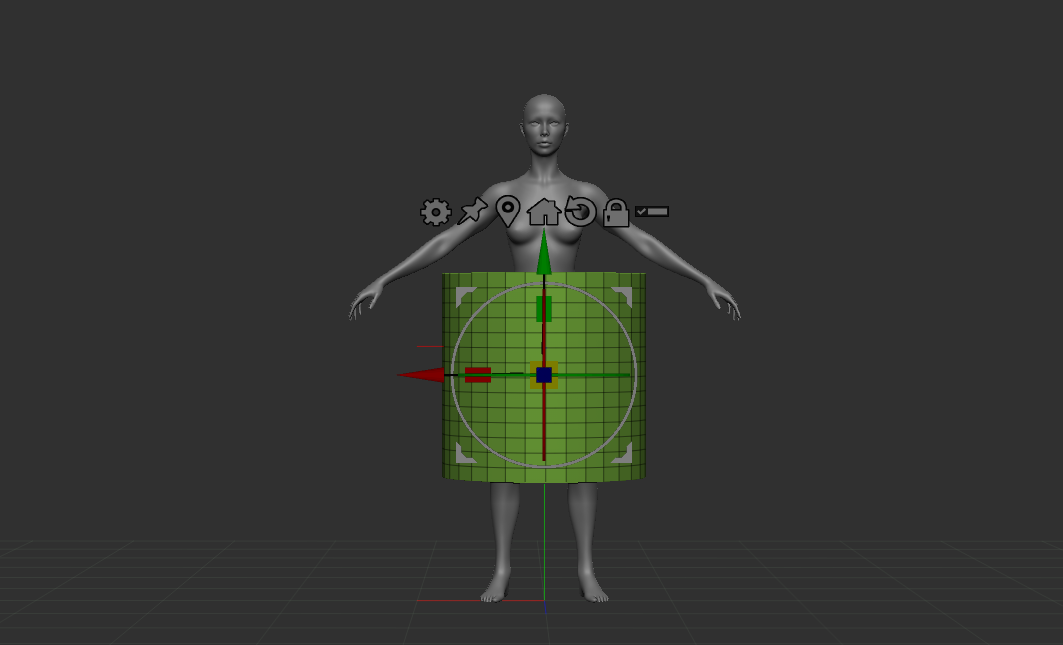
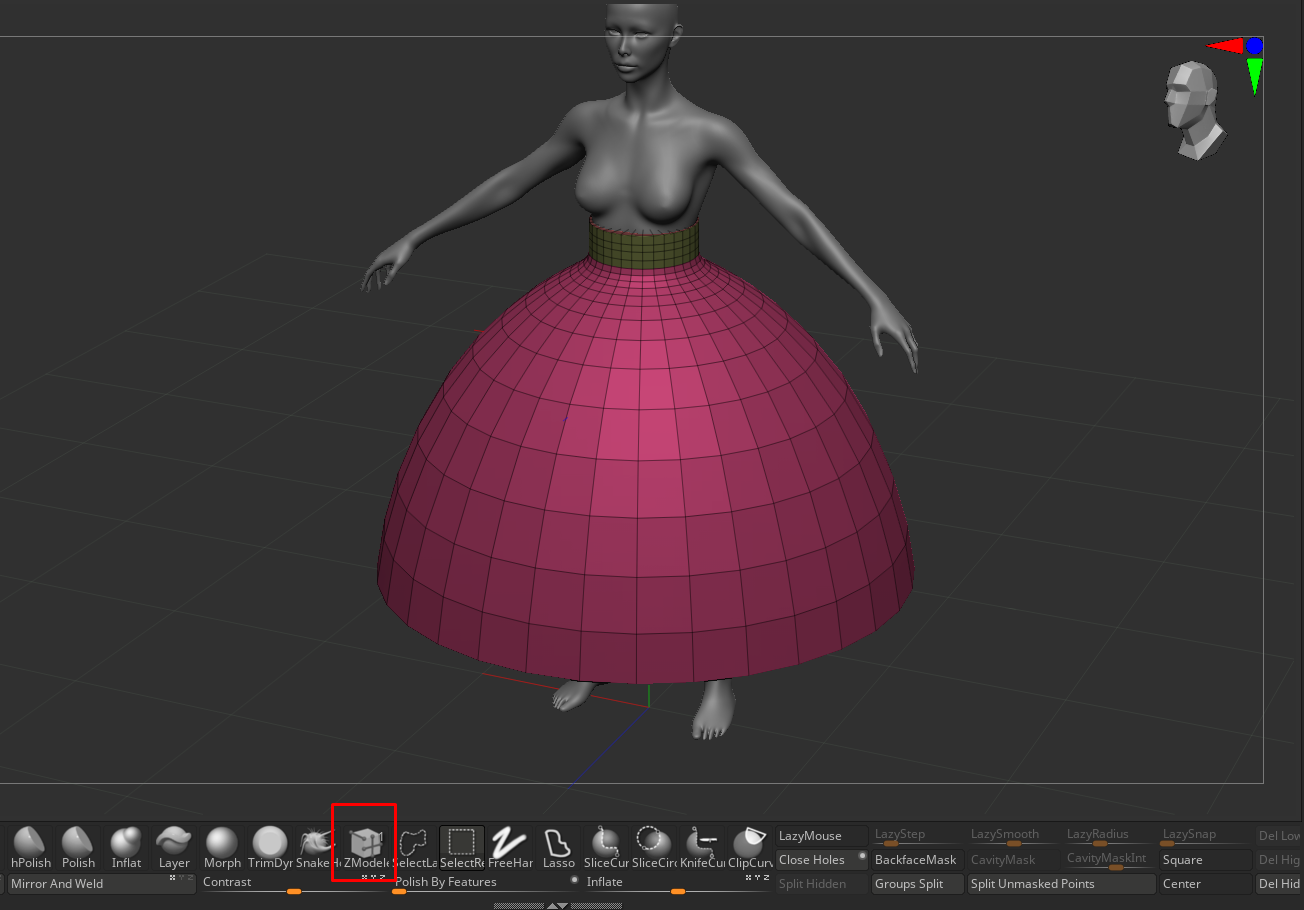
Append a cylinder to your character
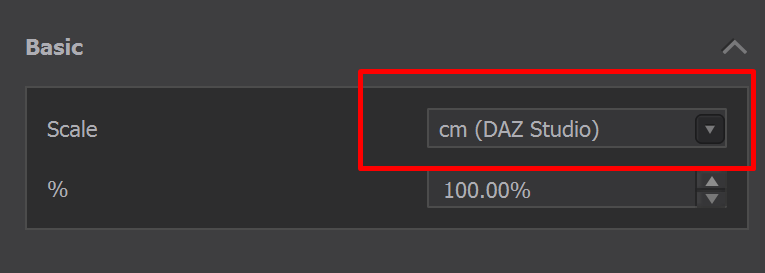
Adjust the size of the dress by scaling it
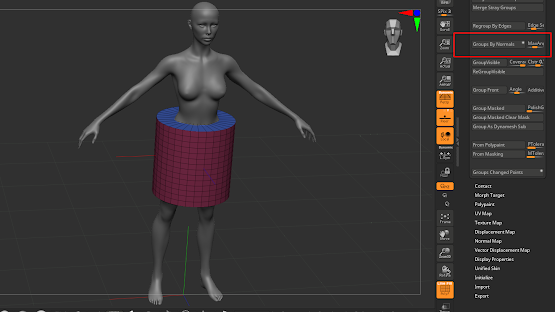
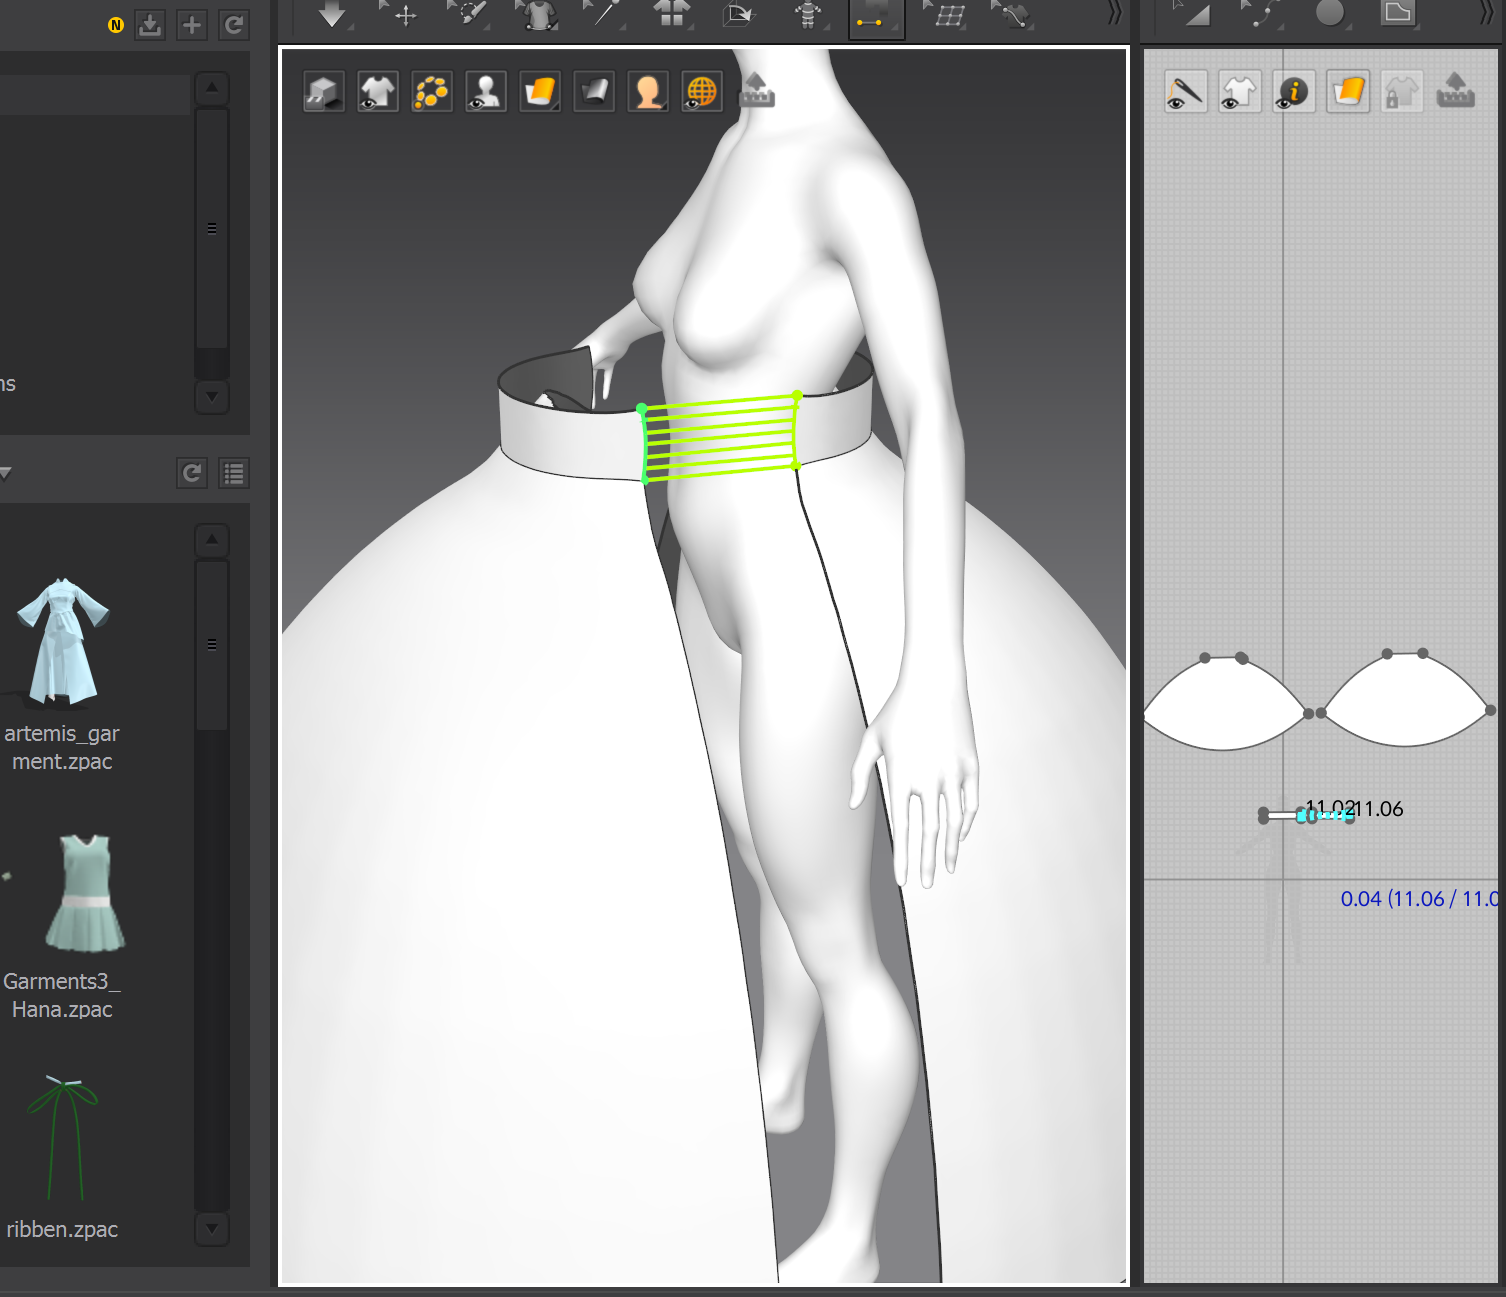
Create the elastic band using the Zmodeler tool
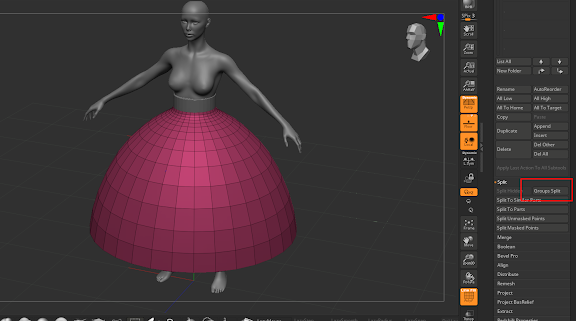
use poly group split to create thin garments
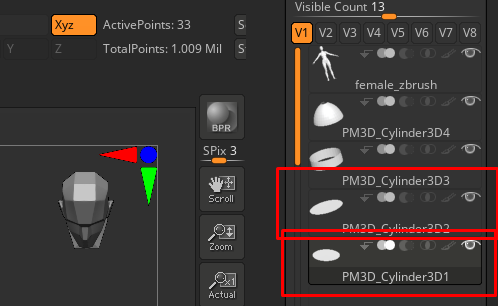
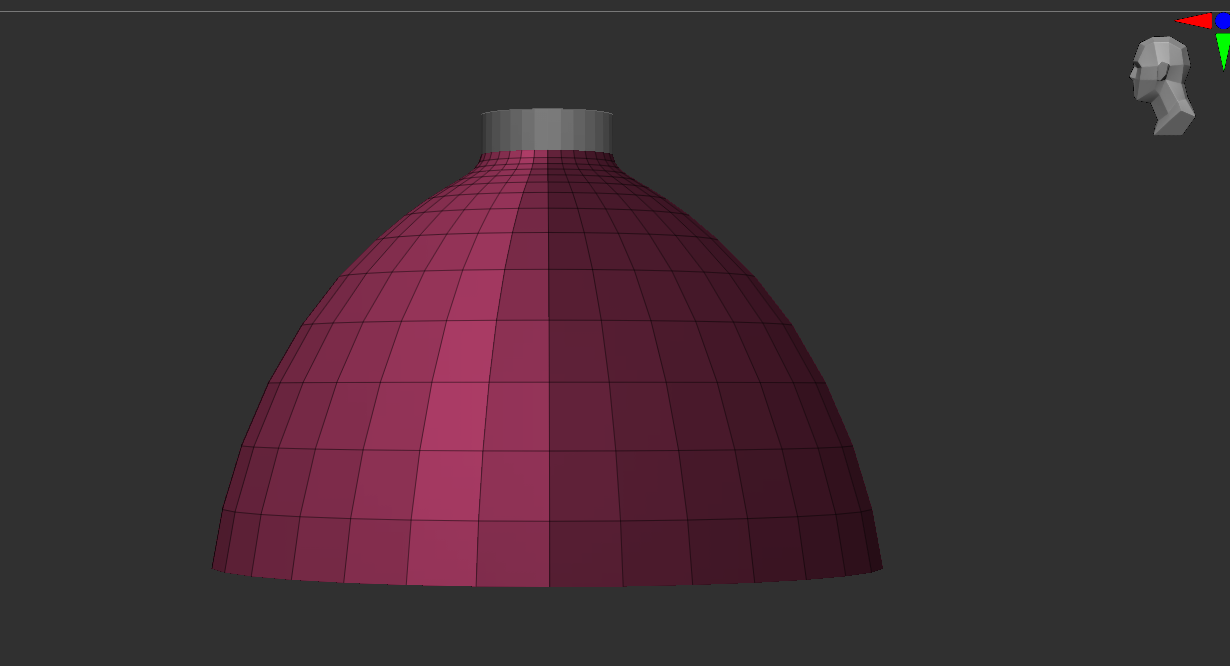
Delete the unwanted subtools
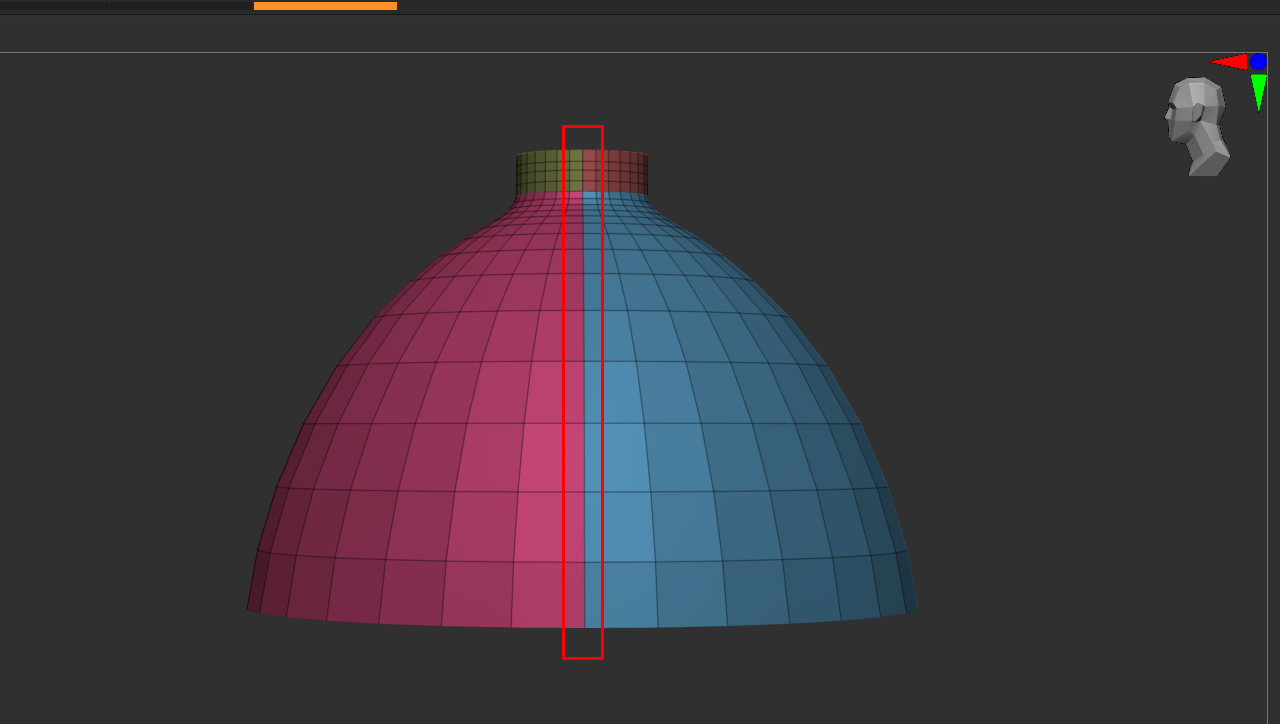
Go to the side view and mask half of the dress and conver to polygroup
Make sure your seam is aligned
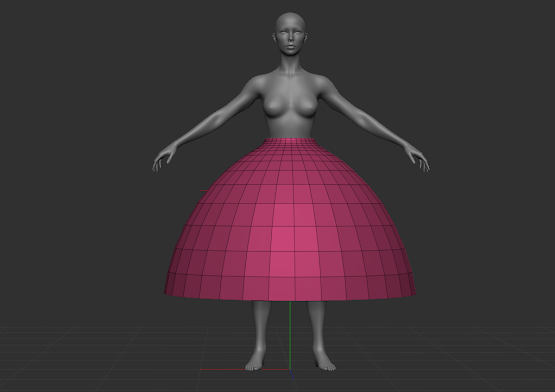
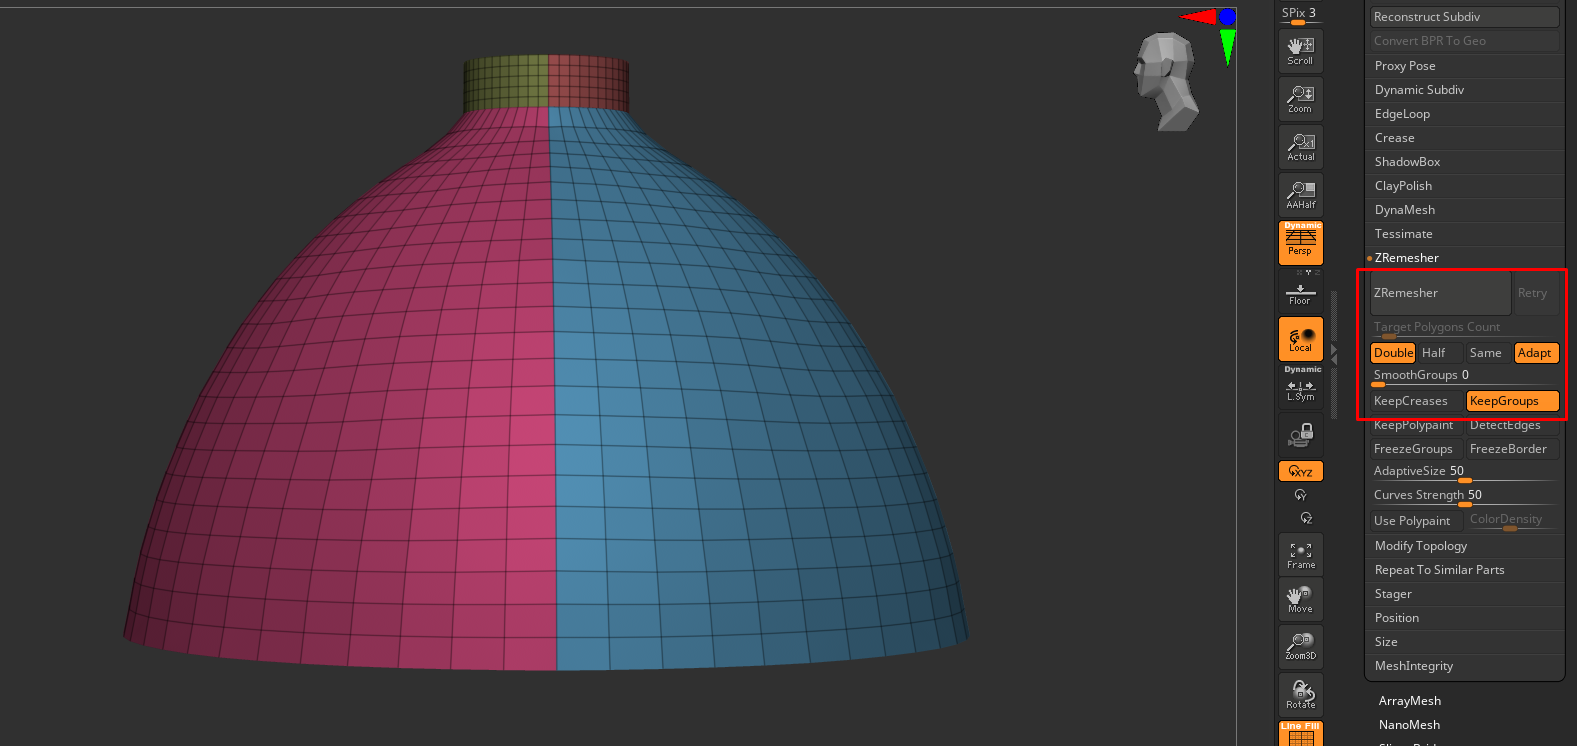
Zremesh your garments to get a better topology for simulation
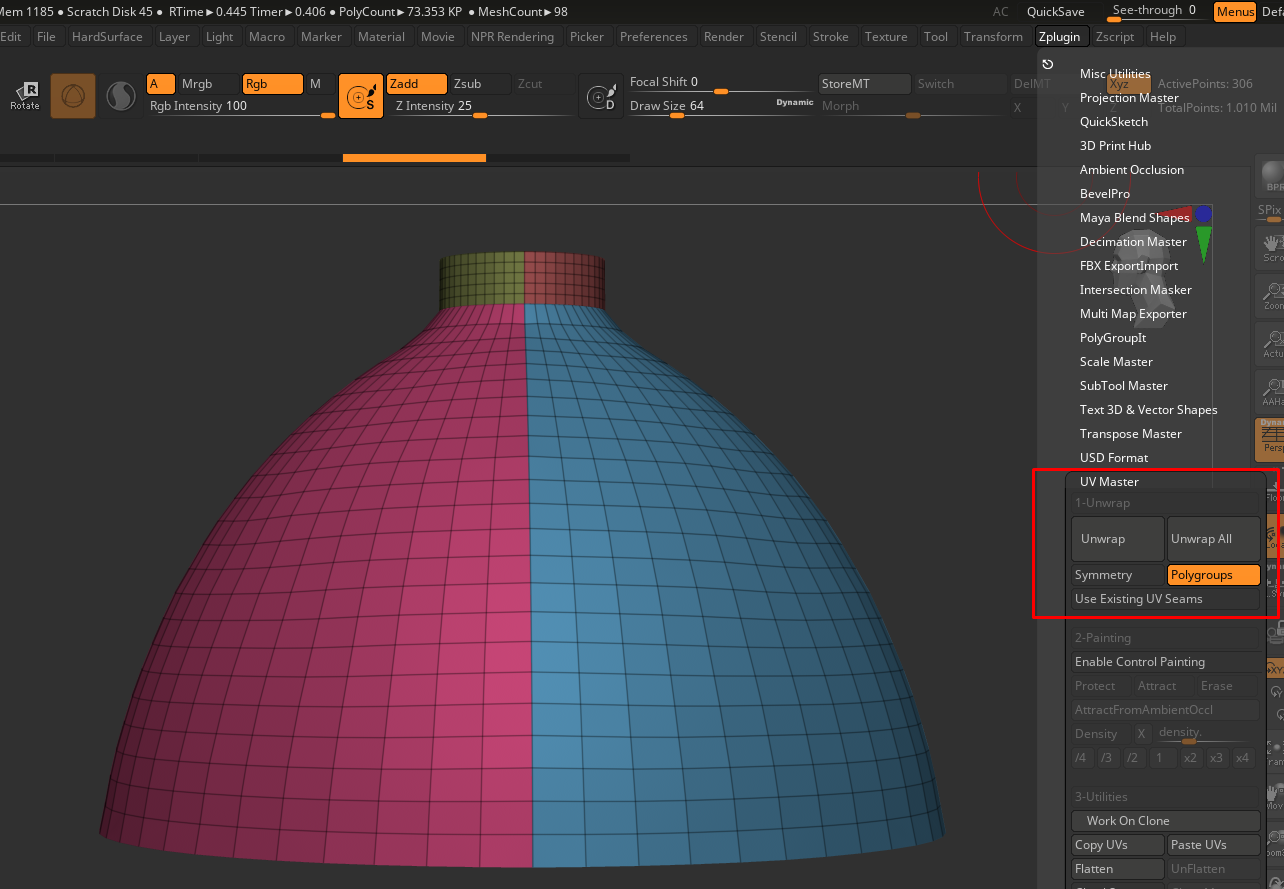
Uv the garment by using uv master by polygroup
You can check your UVs by toggle on the flatten and unflatten botten
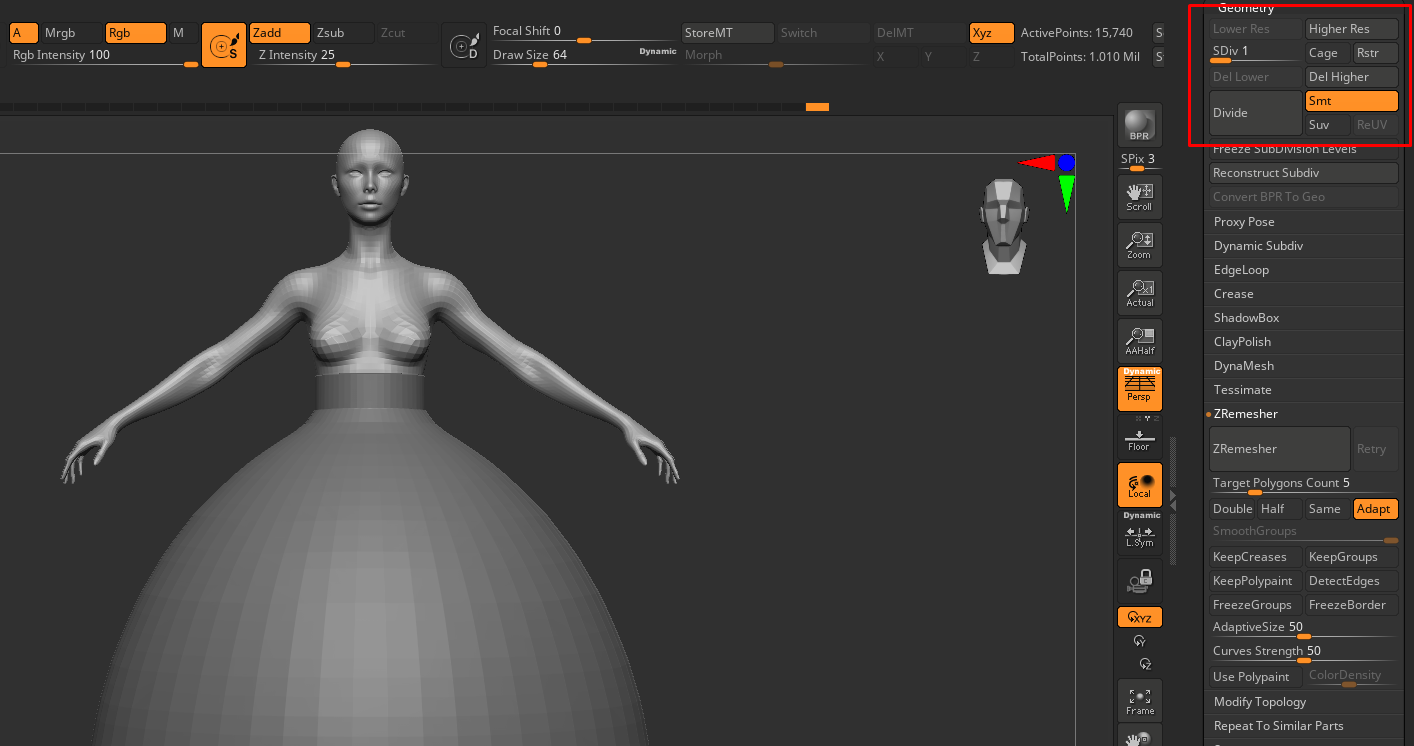
Export your garments and character separately, make sure to use a lower subdivision for better performance
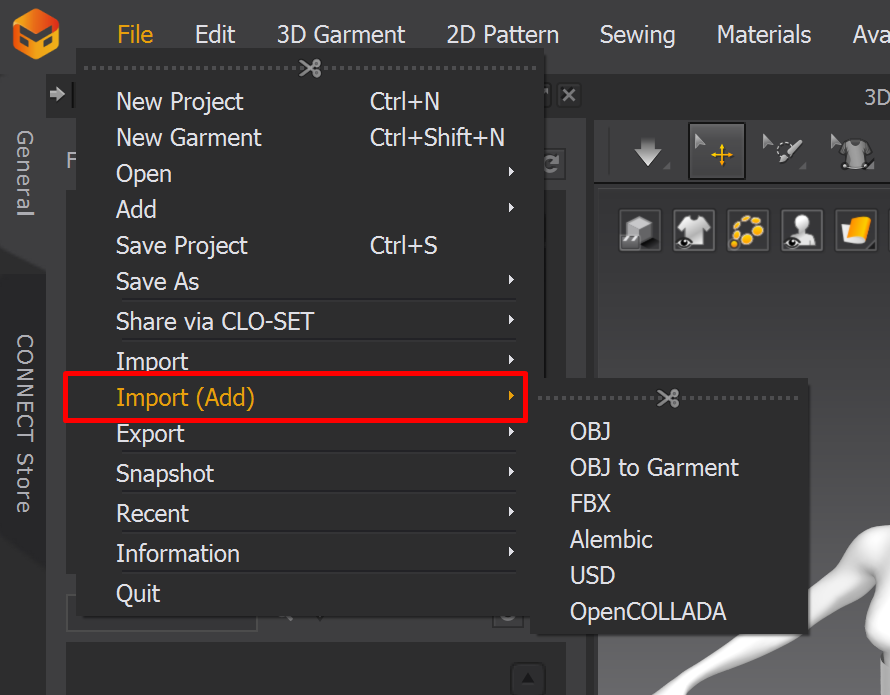
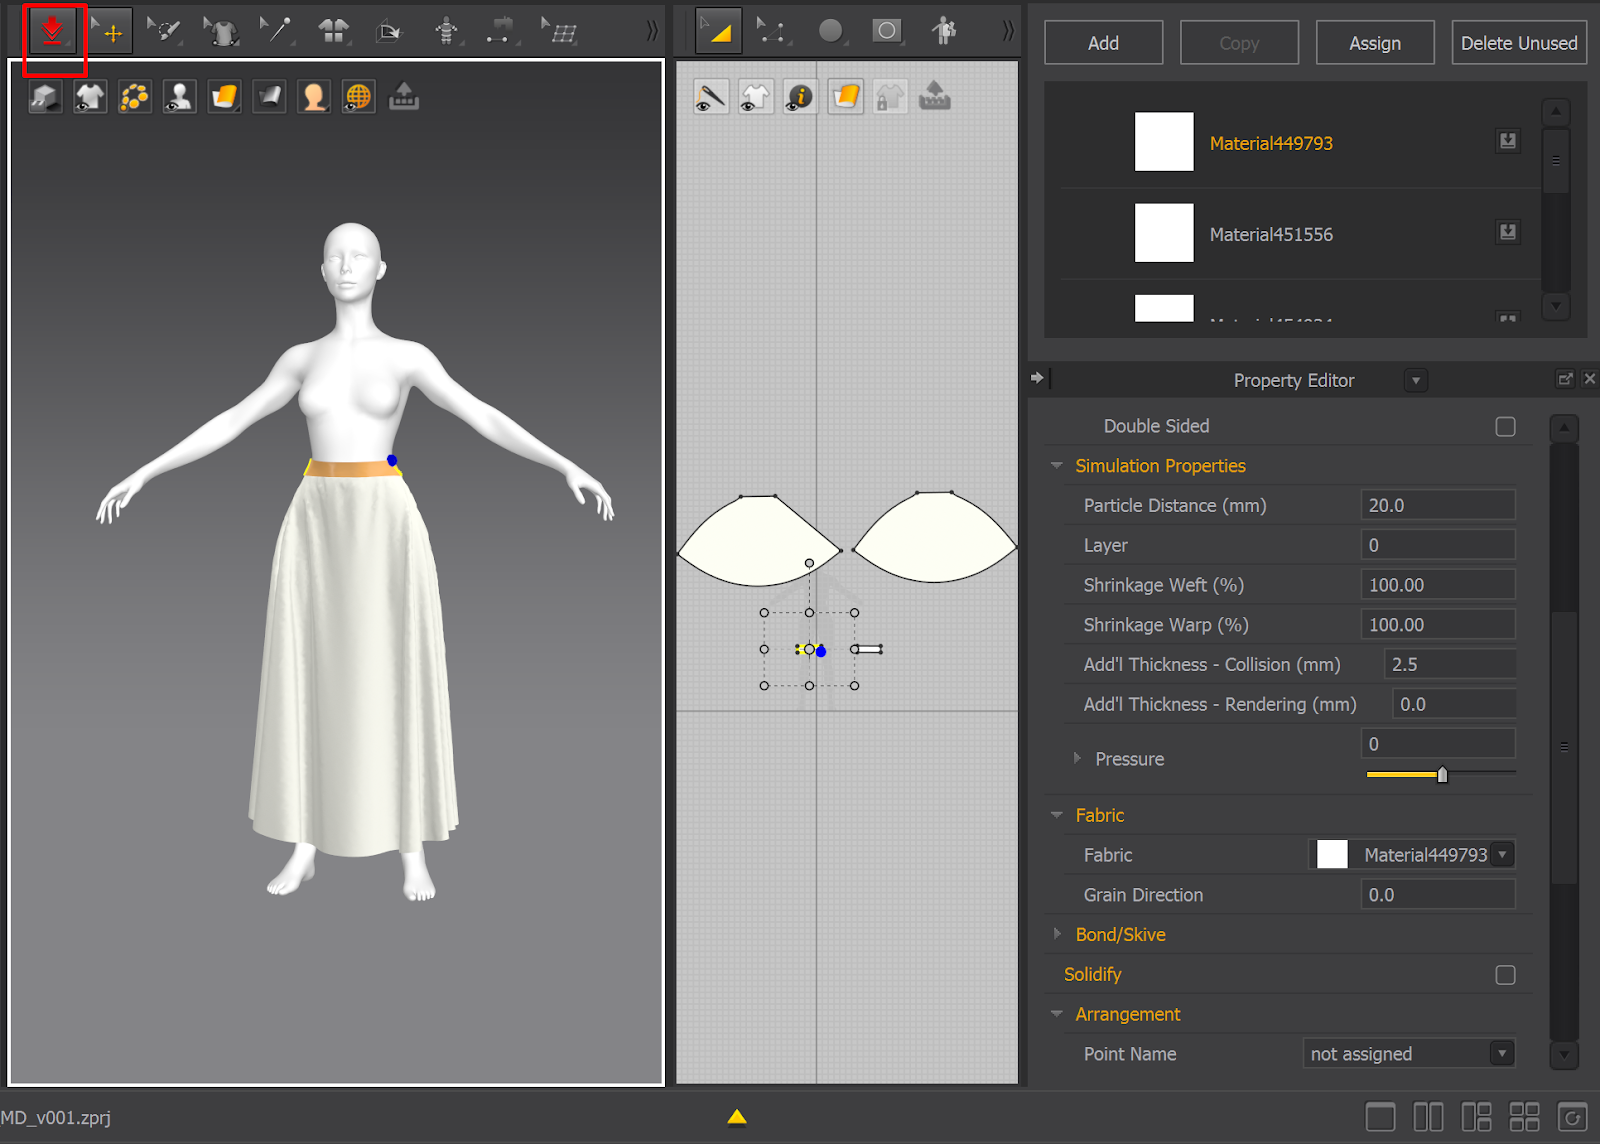
Open Marvelous Designer and import the basemesh
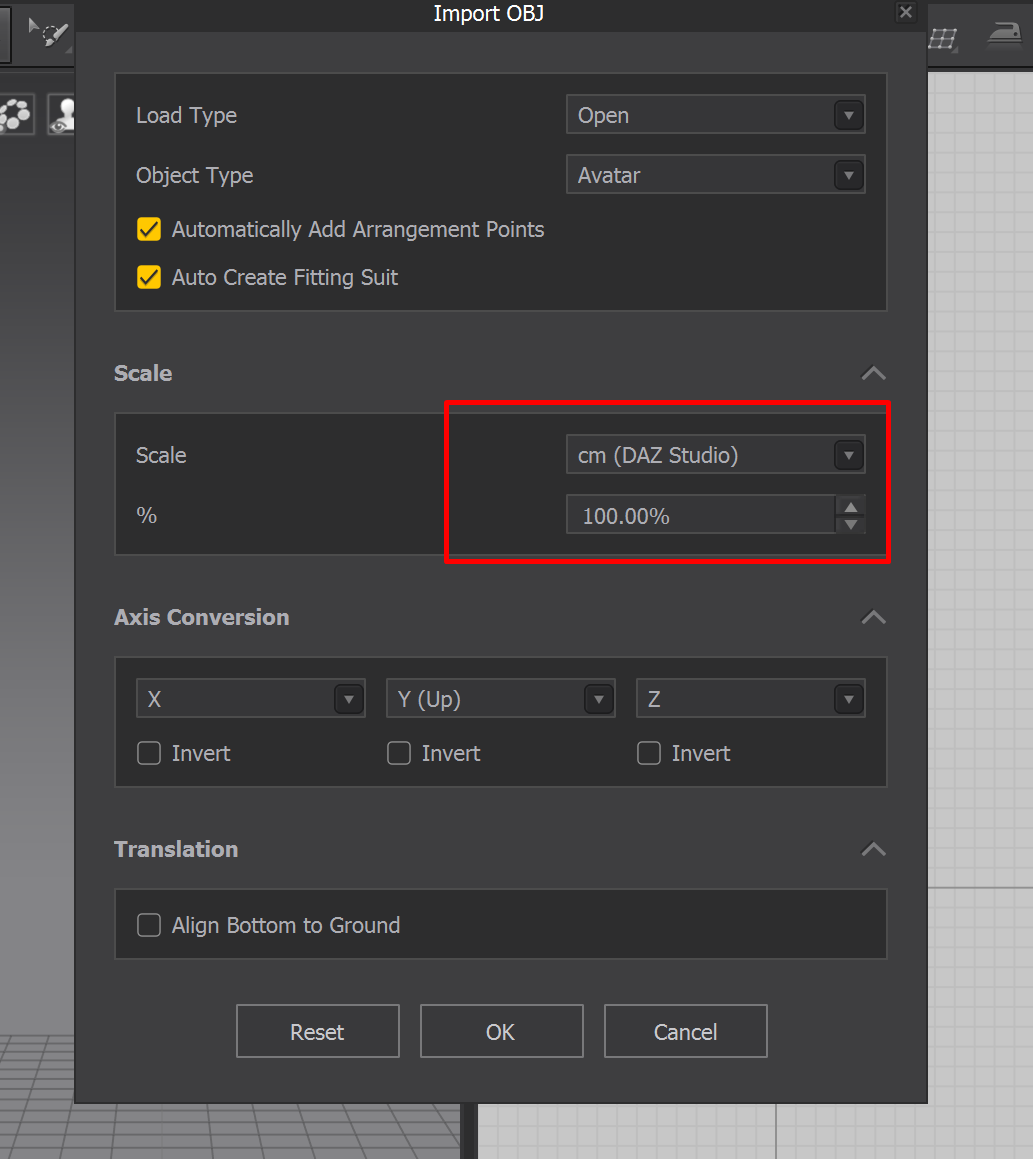
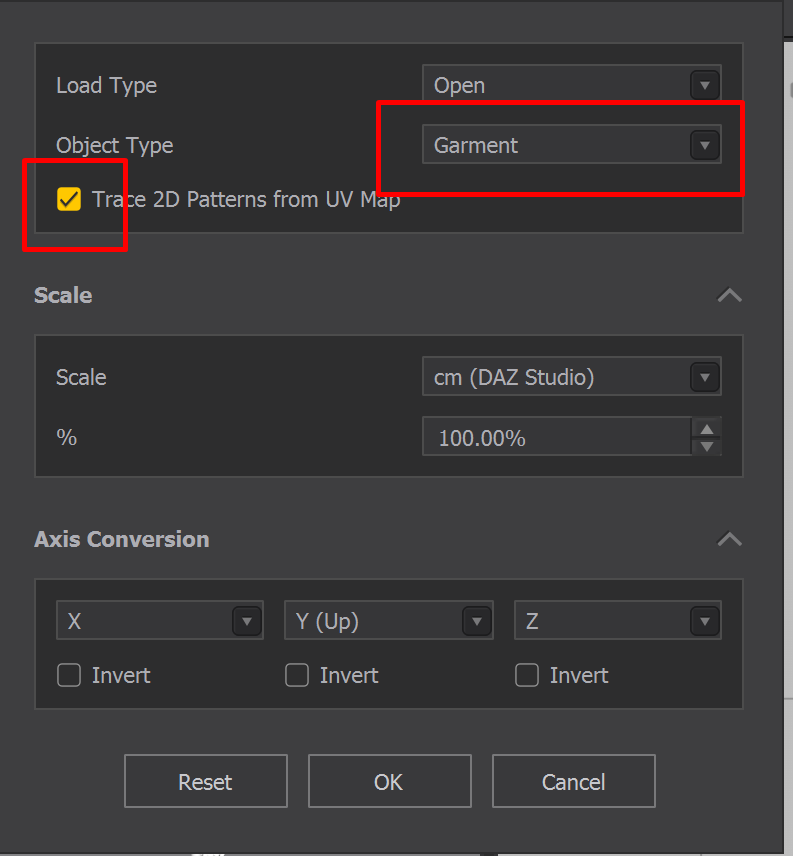
Import garments
Step 2: Clean up the garment and simulate it in Marvelous Designer
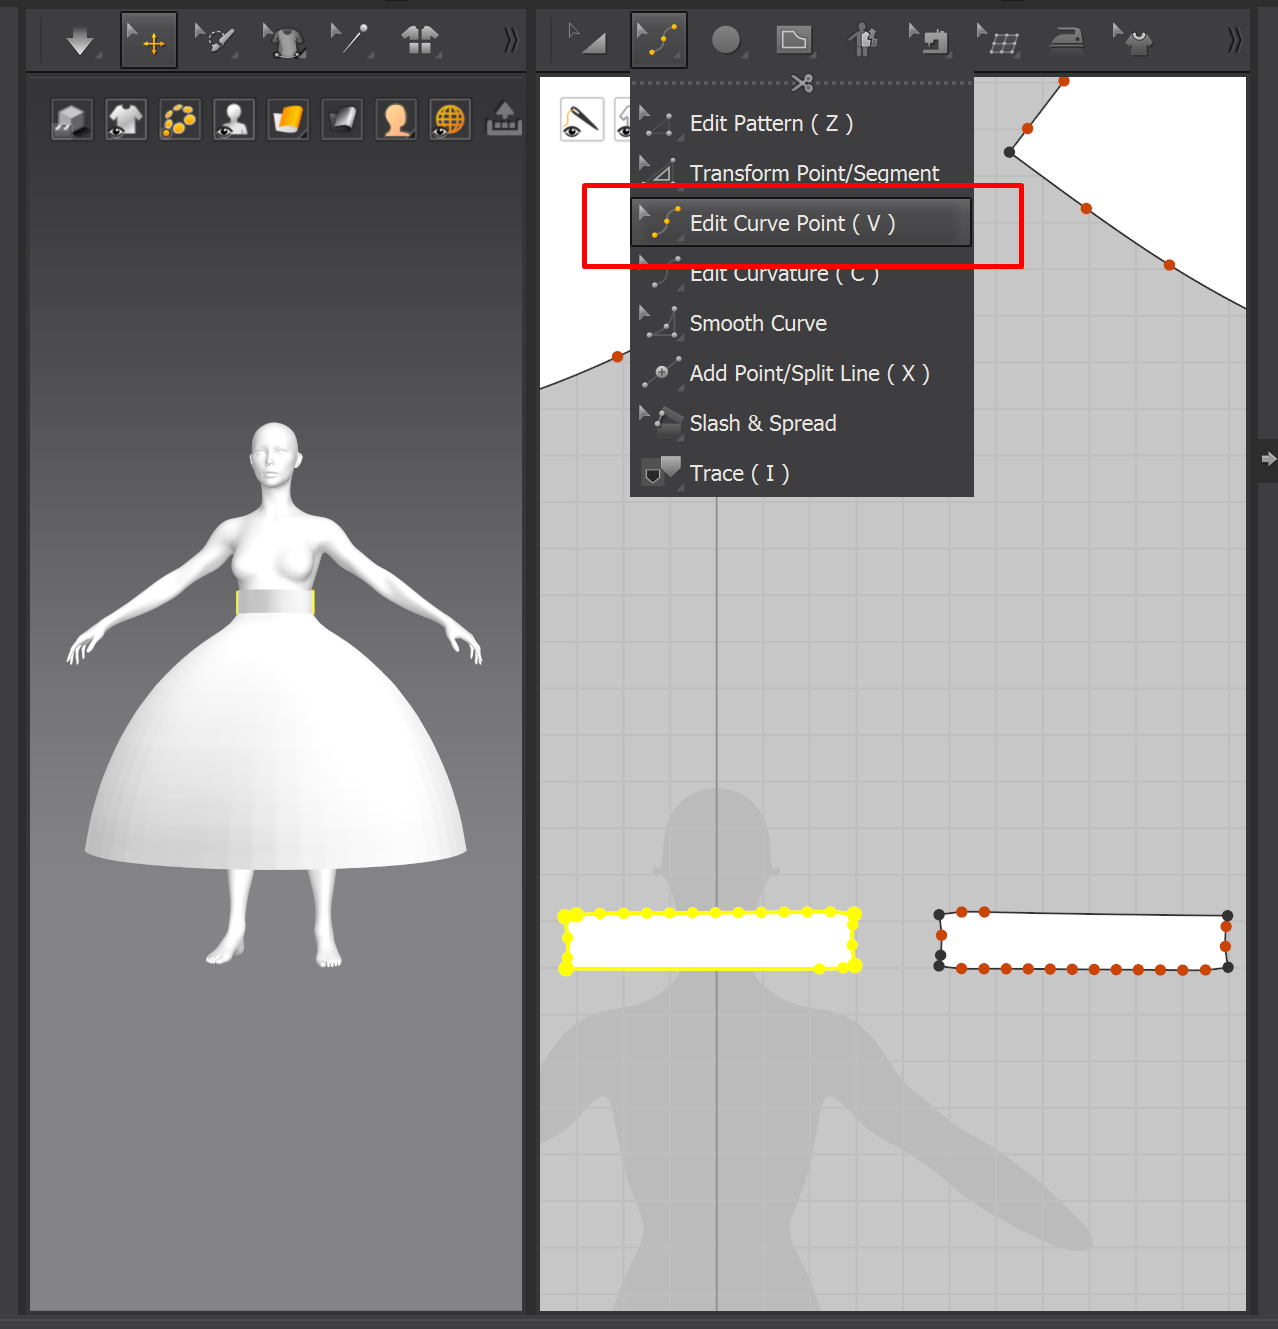
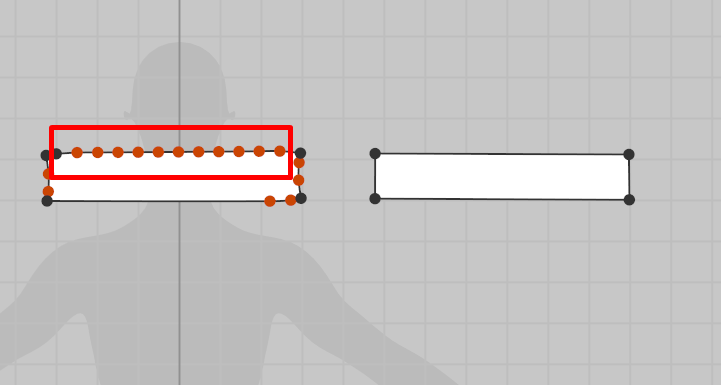
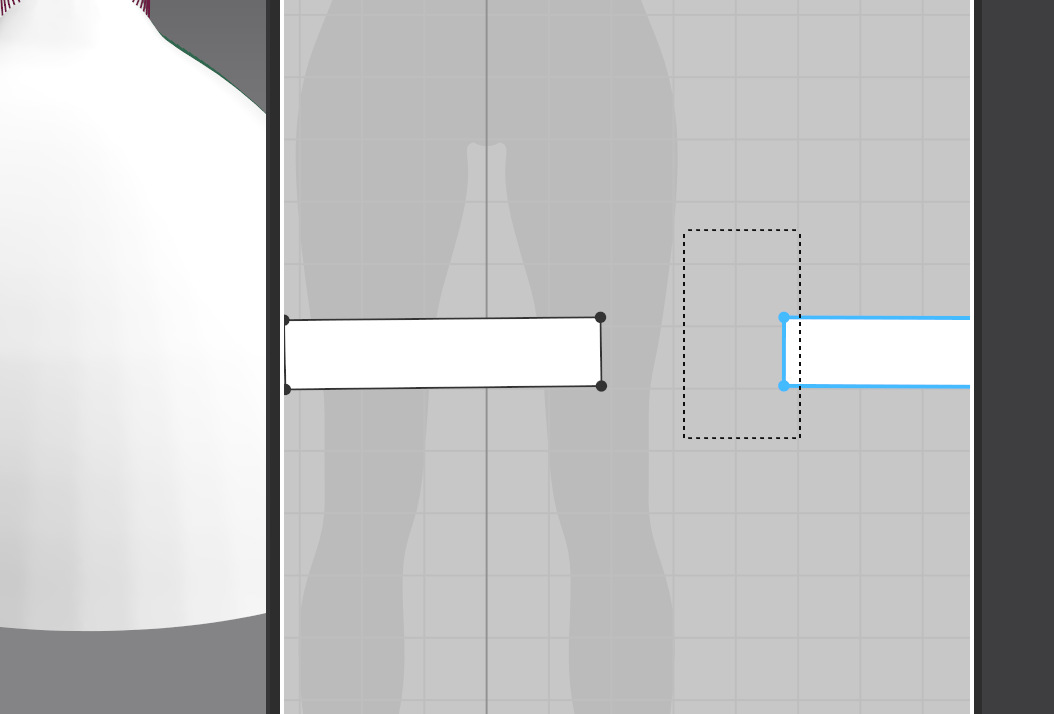
Delete the unnecessary curve points
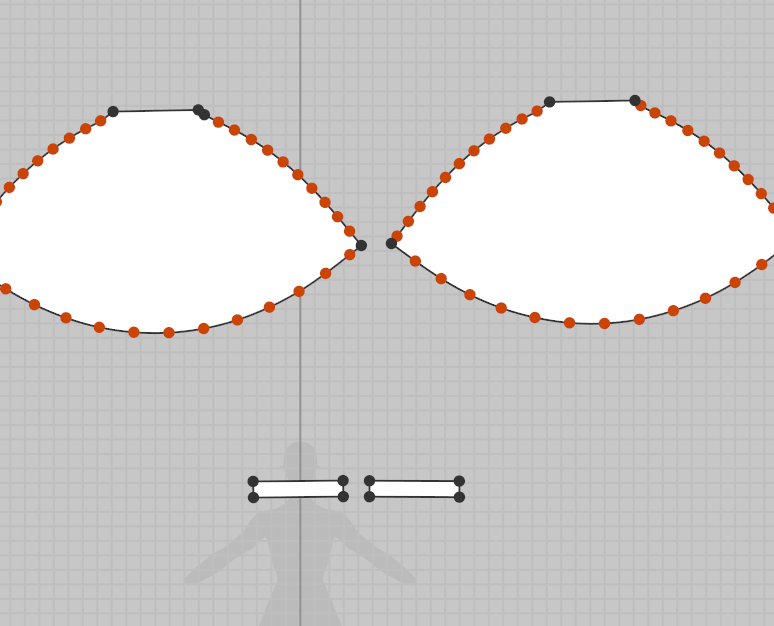
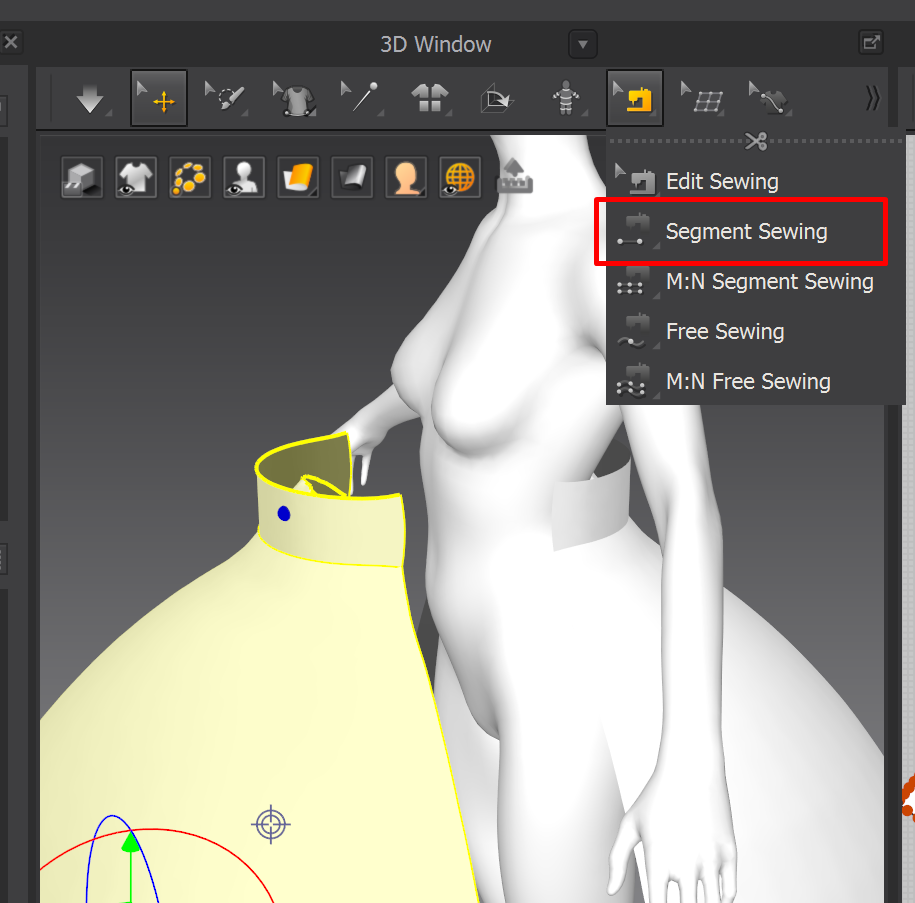
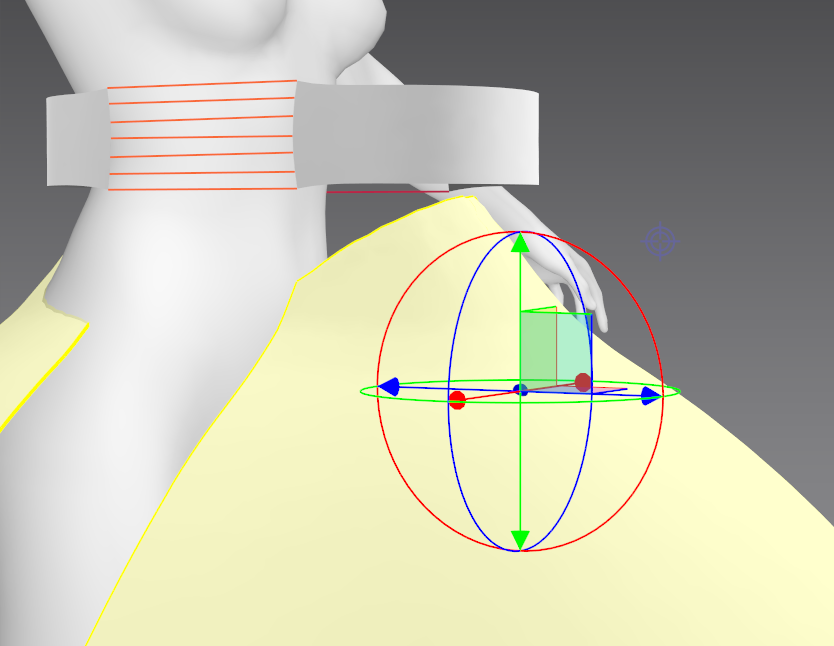
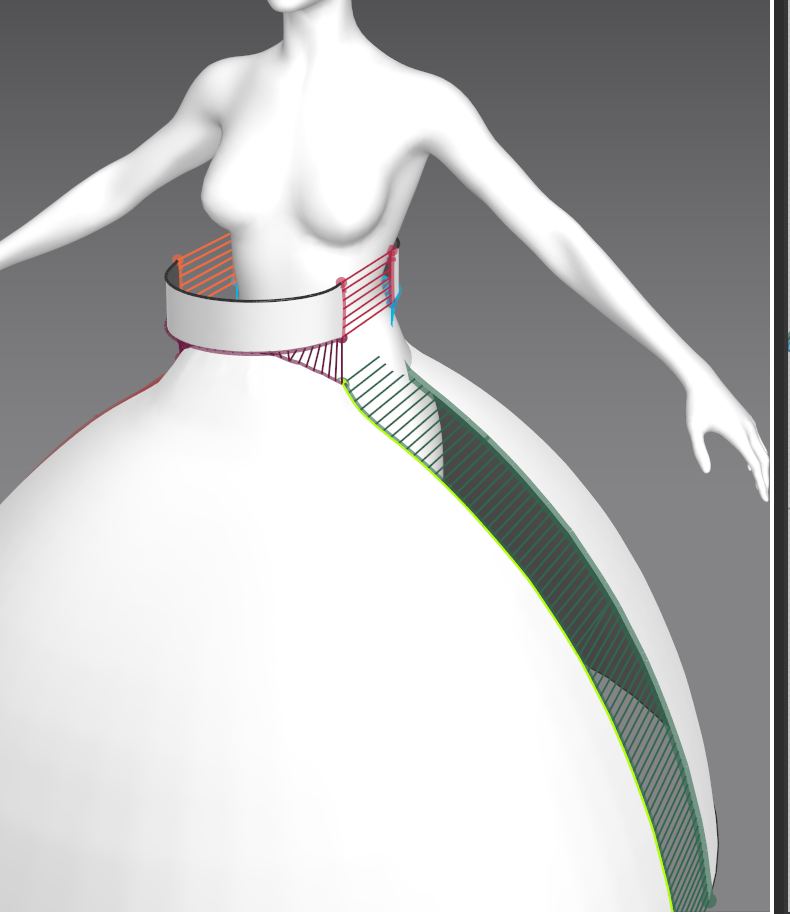
Start sewing the garments together
Be careful not to cross-sew the segments
Adjust the position to sew easily
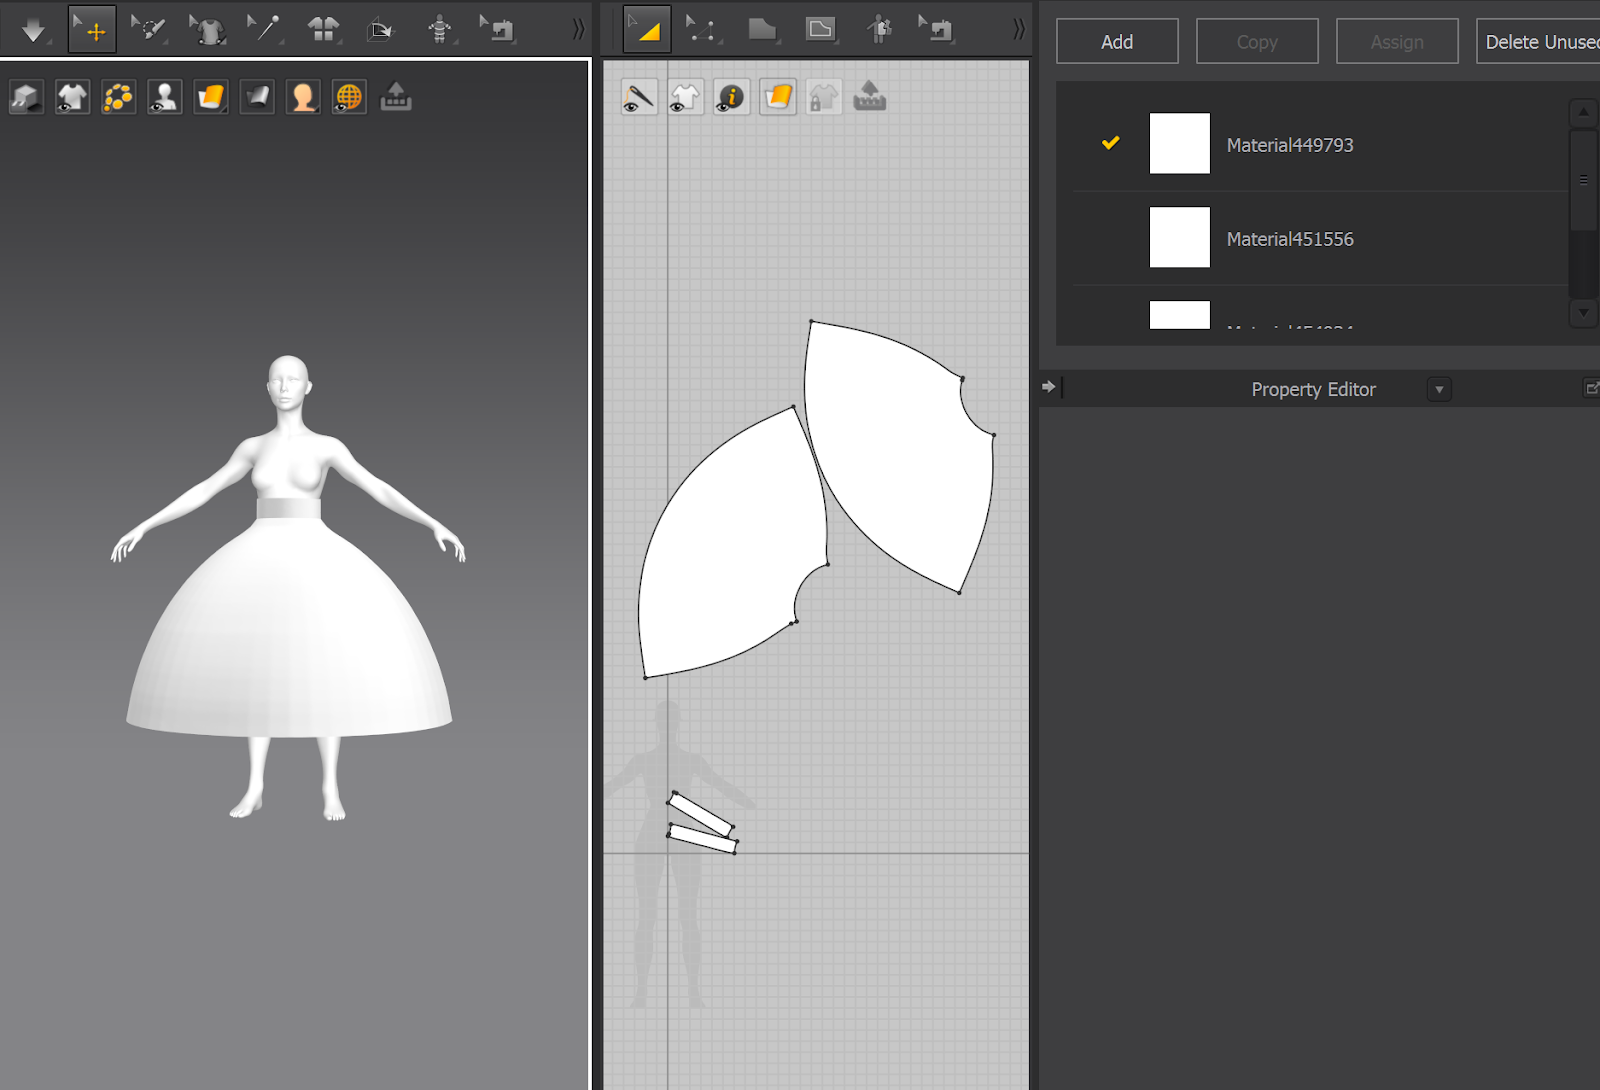
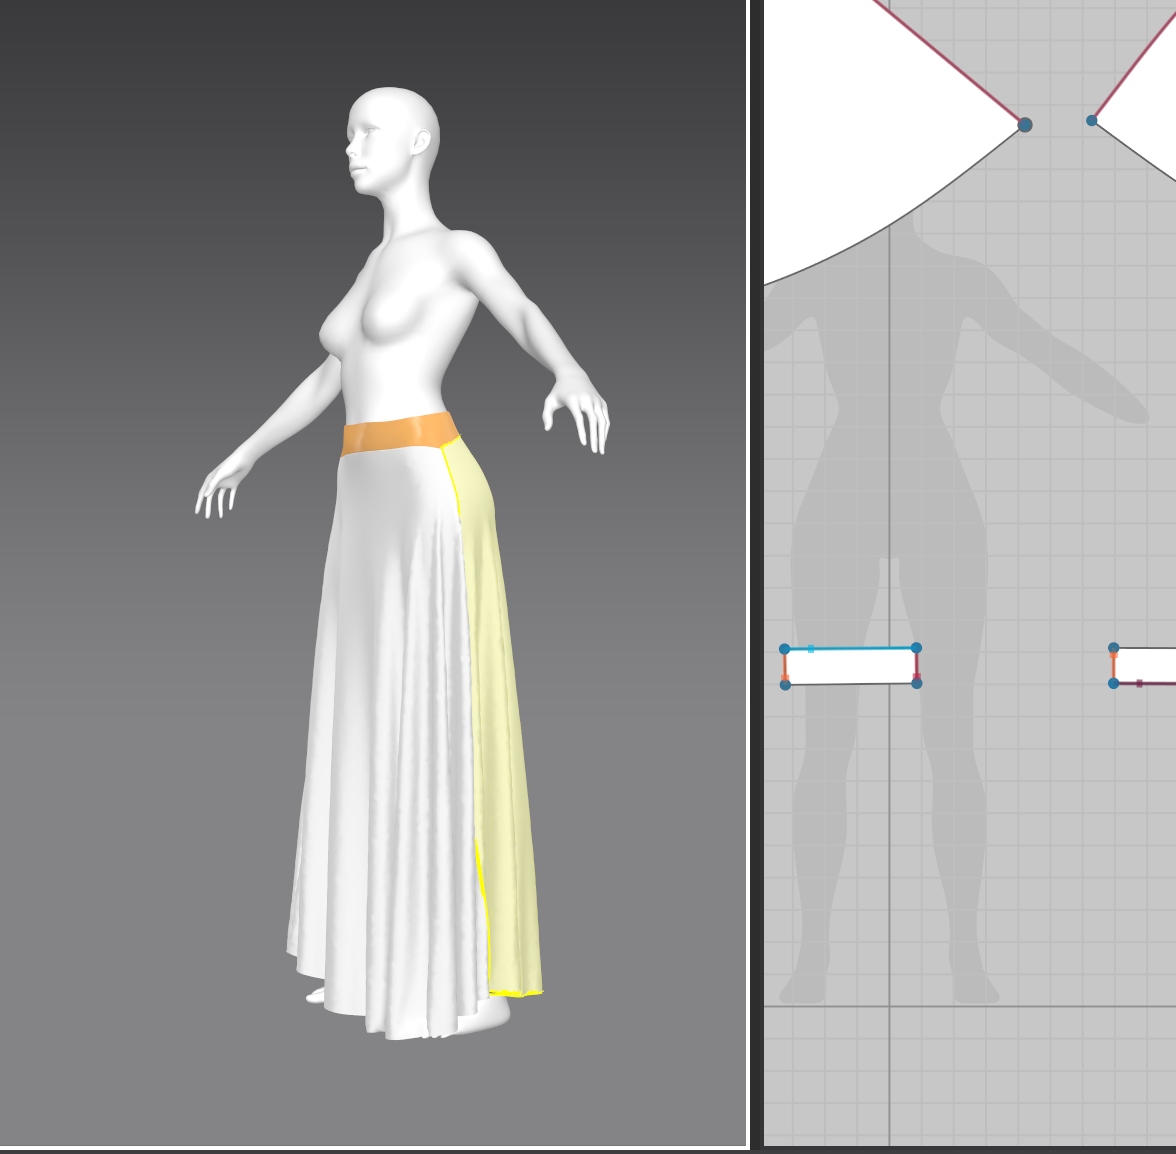
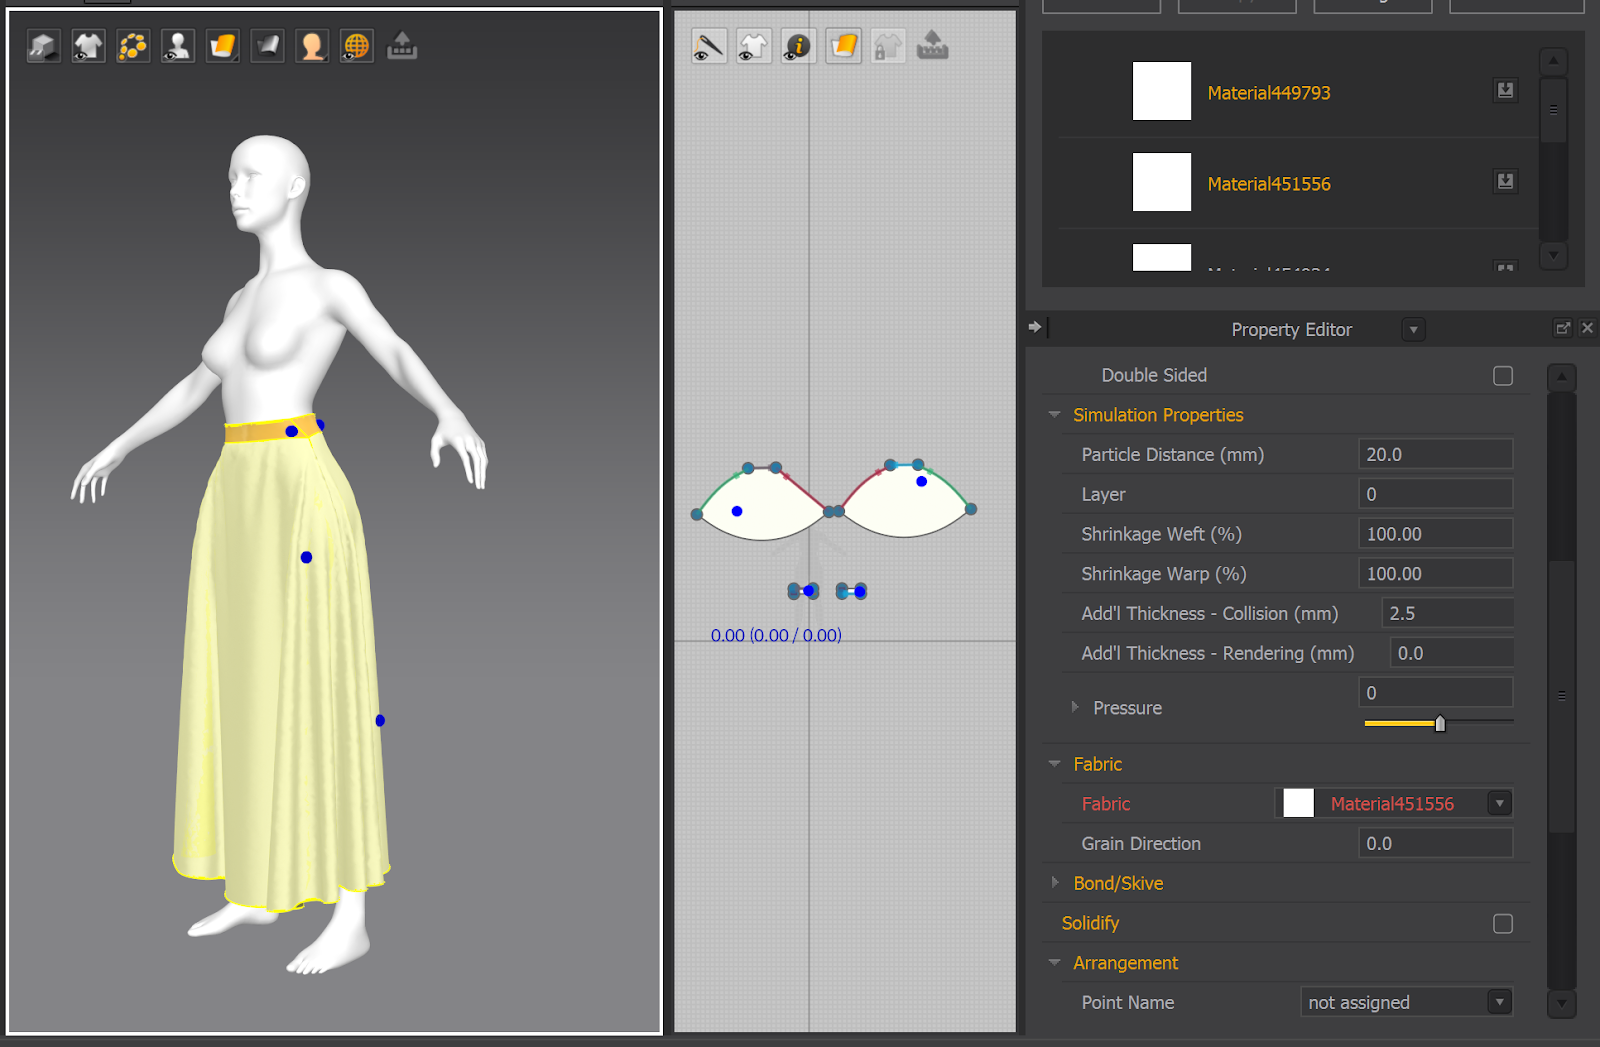
Press the space button to simulate
The result is bad because the width of the elastic band is too big
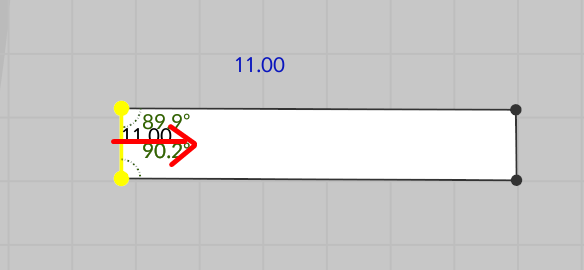
Adjust the with of the elastic band
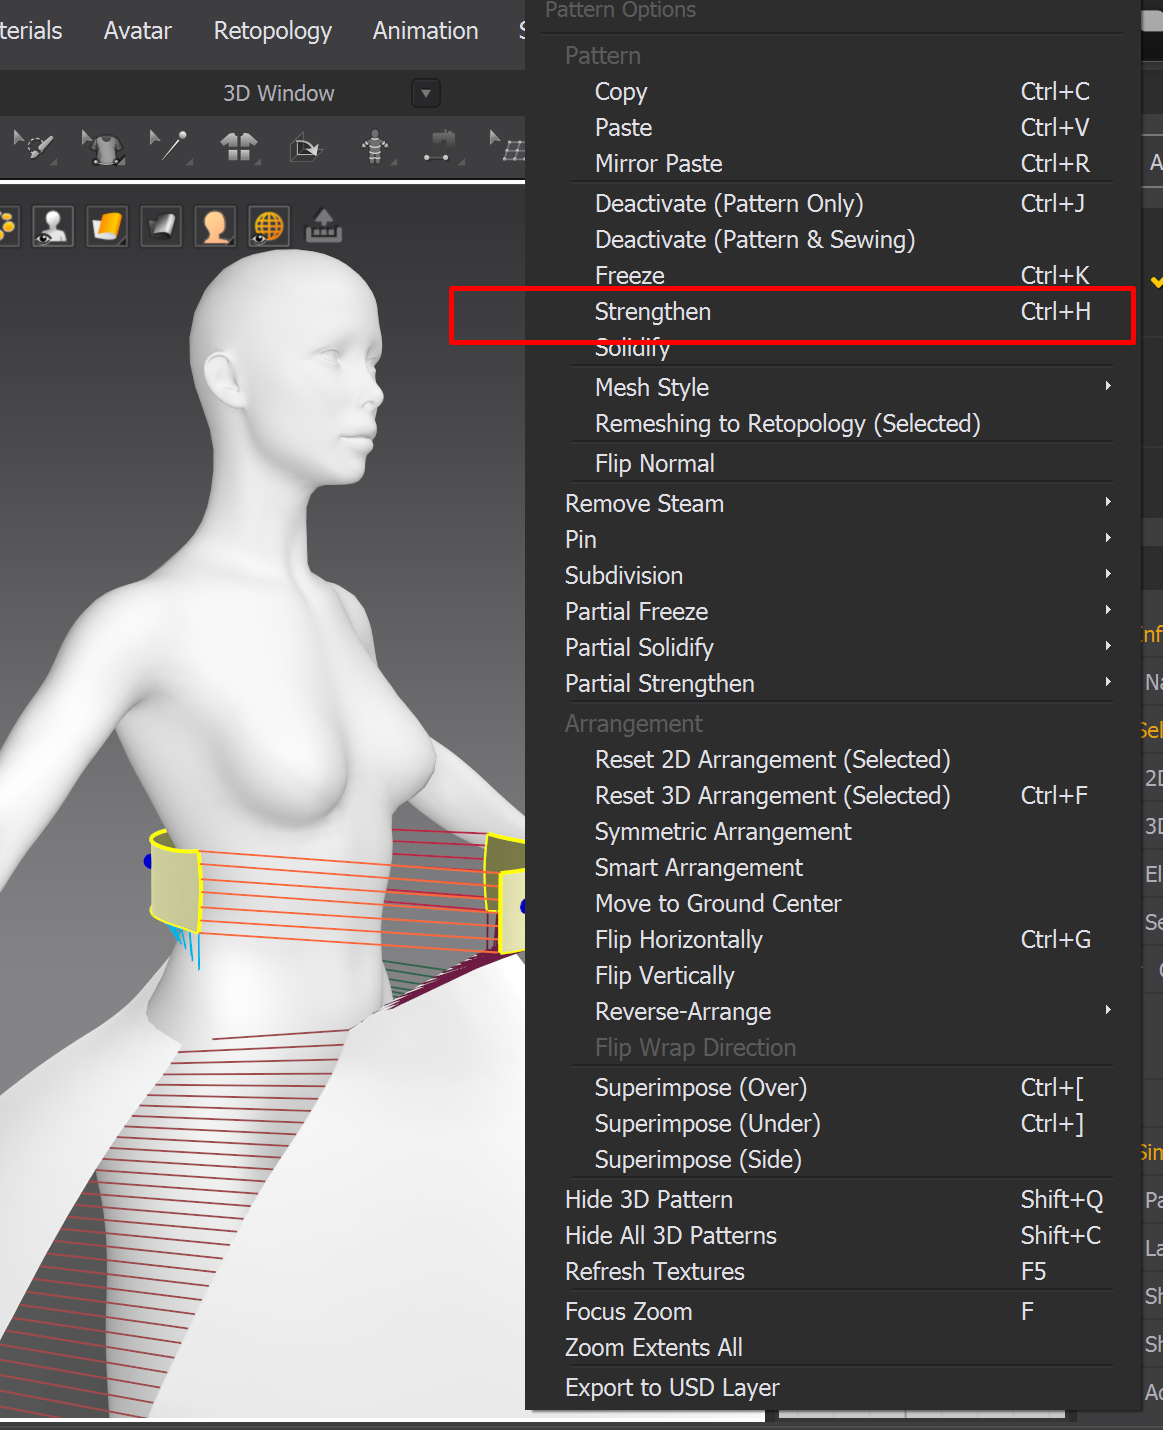
Change to Fitting simulation and tweak as needed
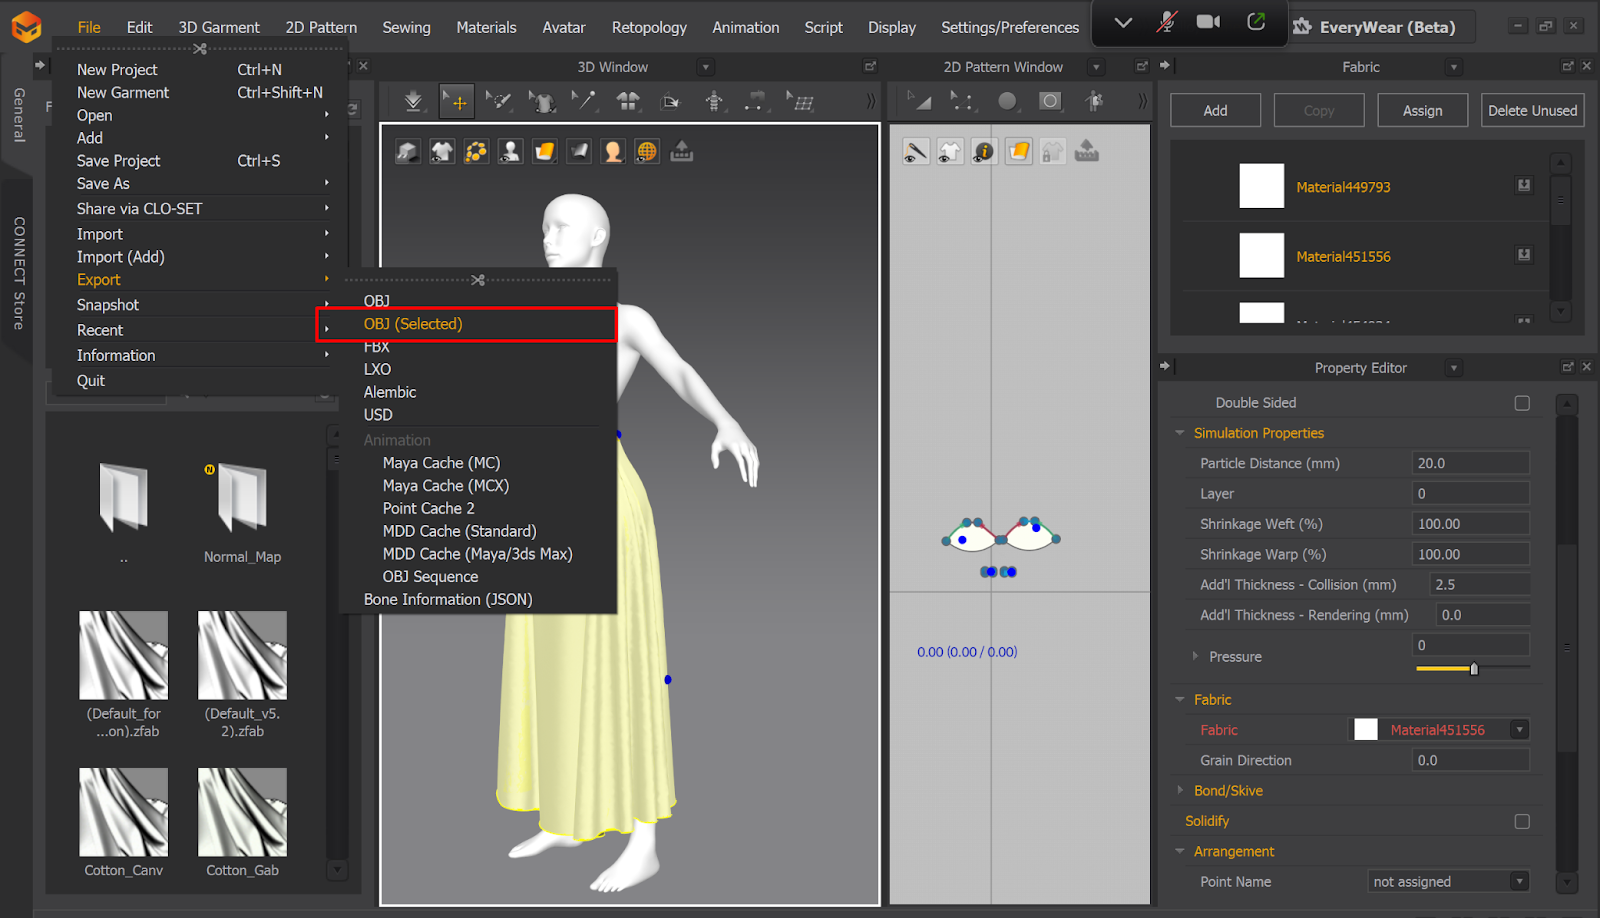
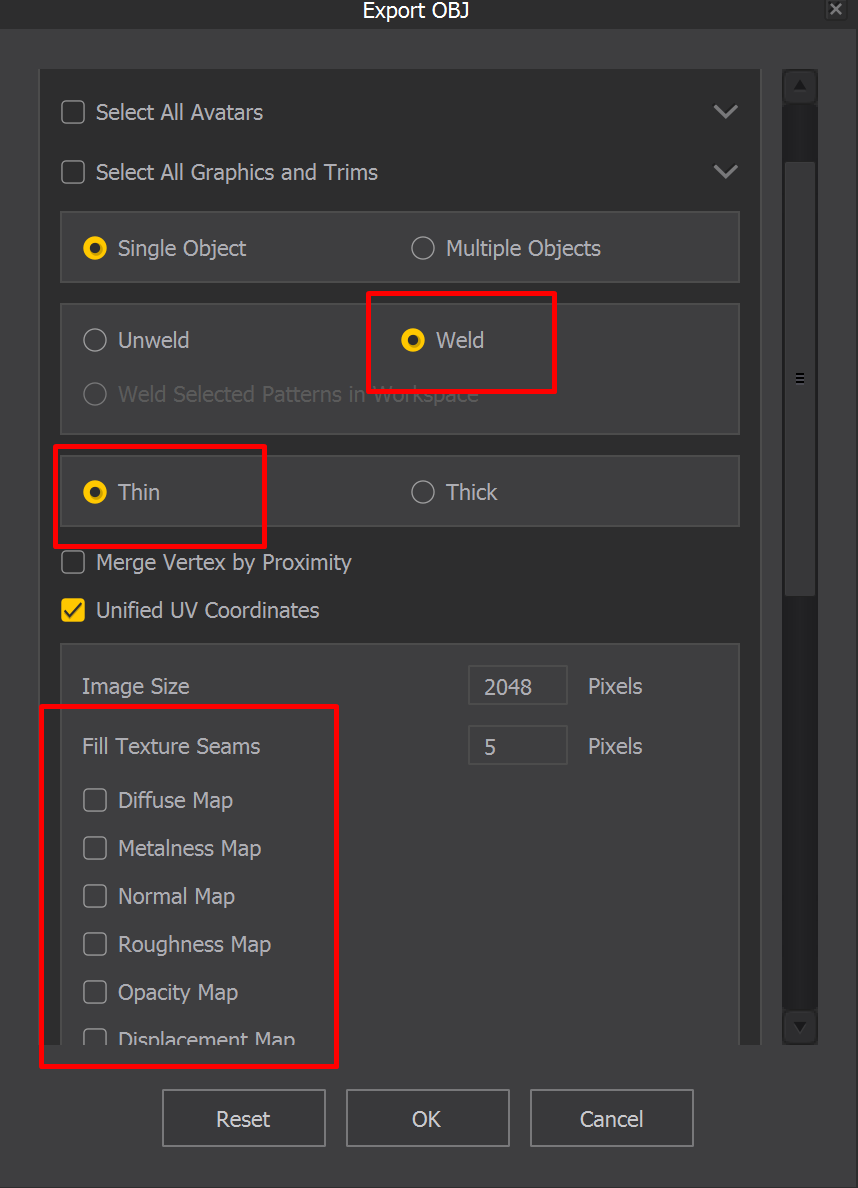
Export simulated dress
Select all the garments
The material maps are not necessary so I did not export them.
Step 3: Clean up the simulated dress in Zbrush
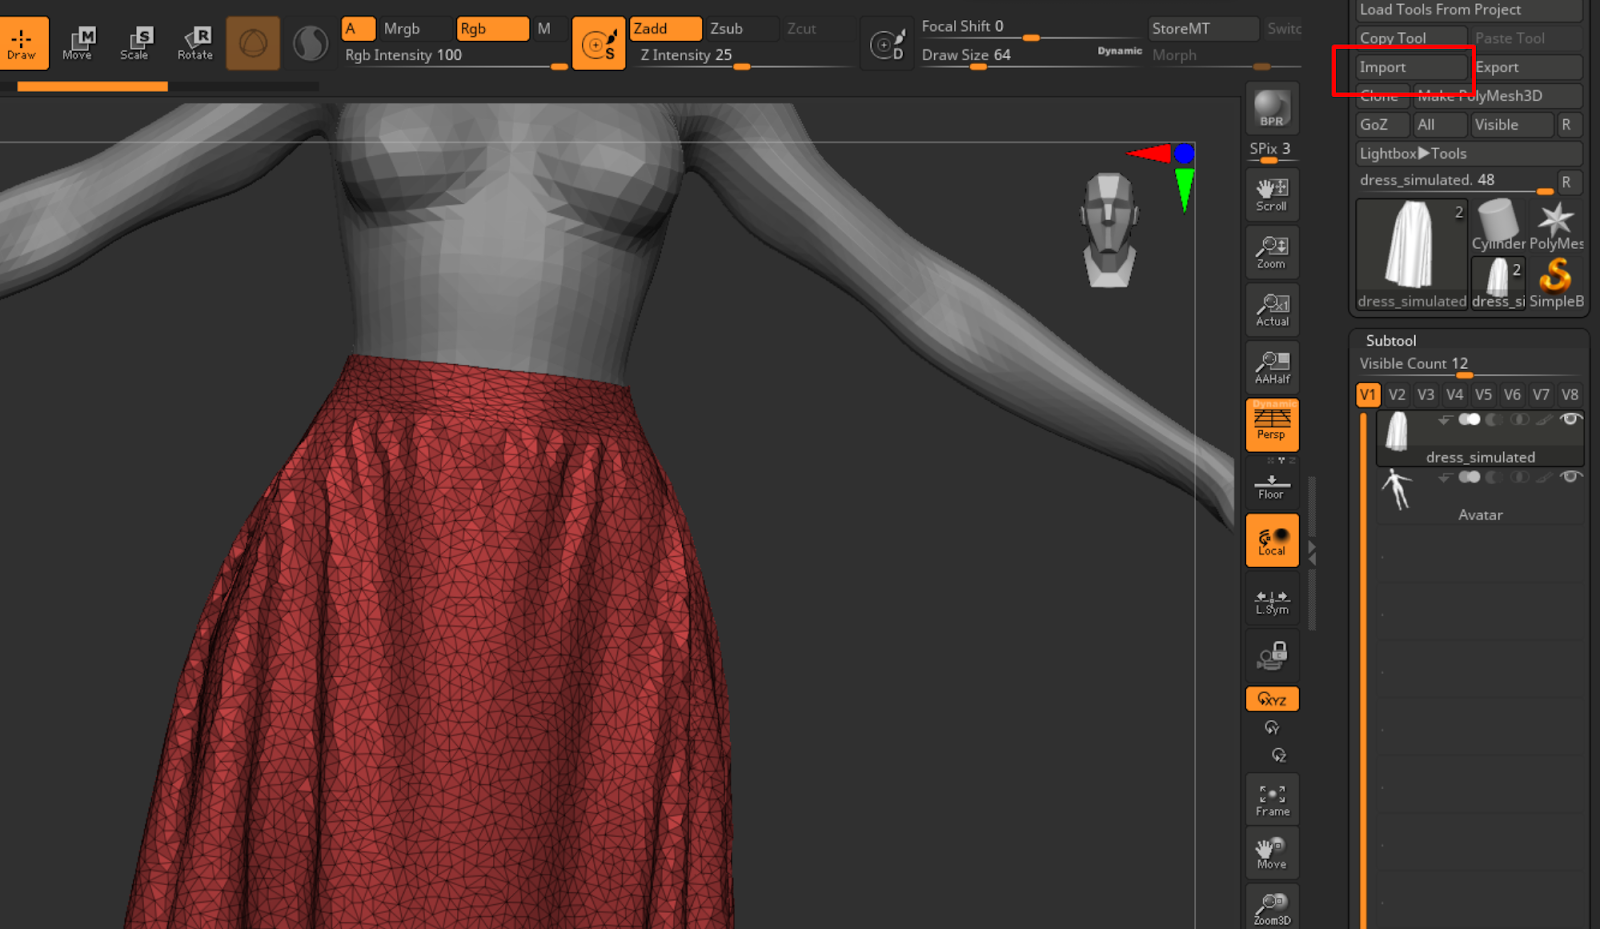
Import the meshes
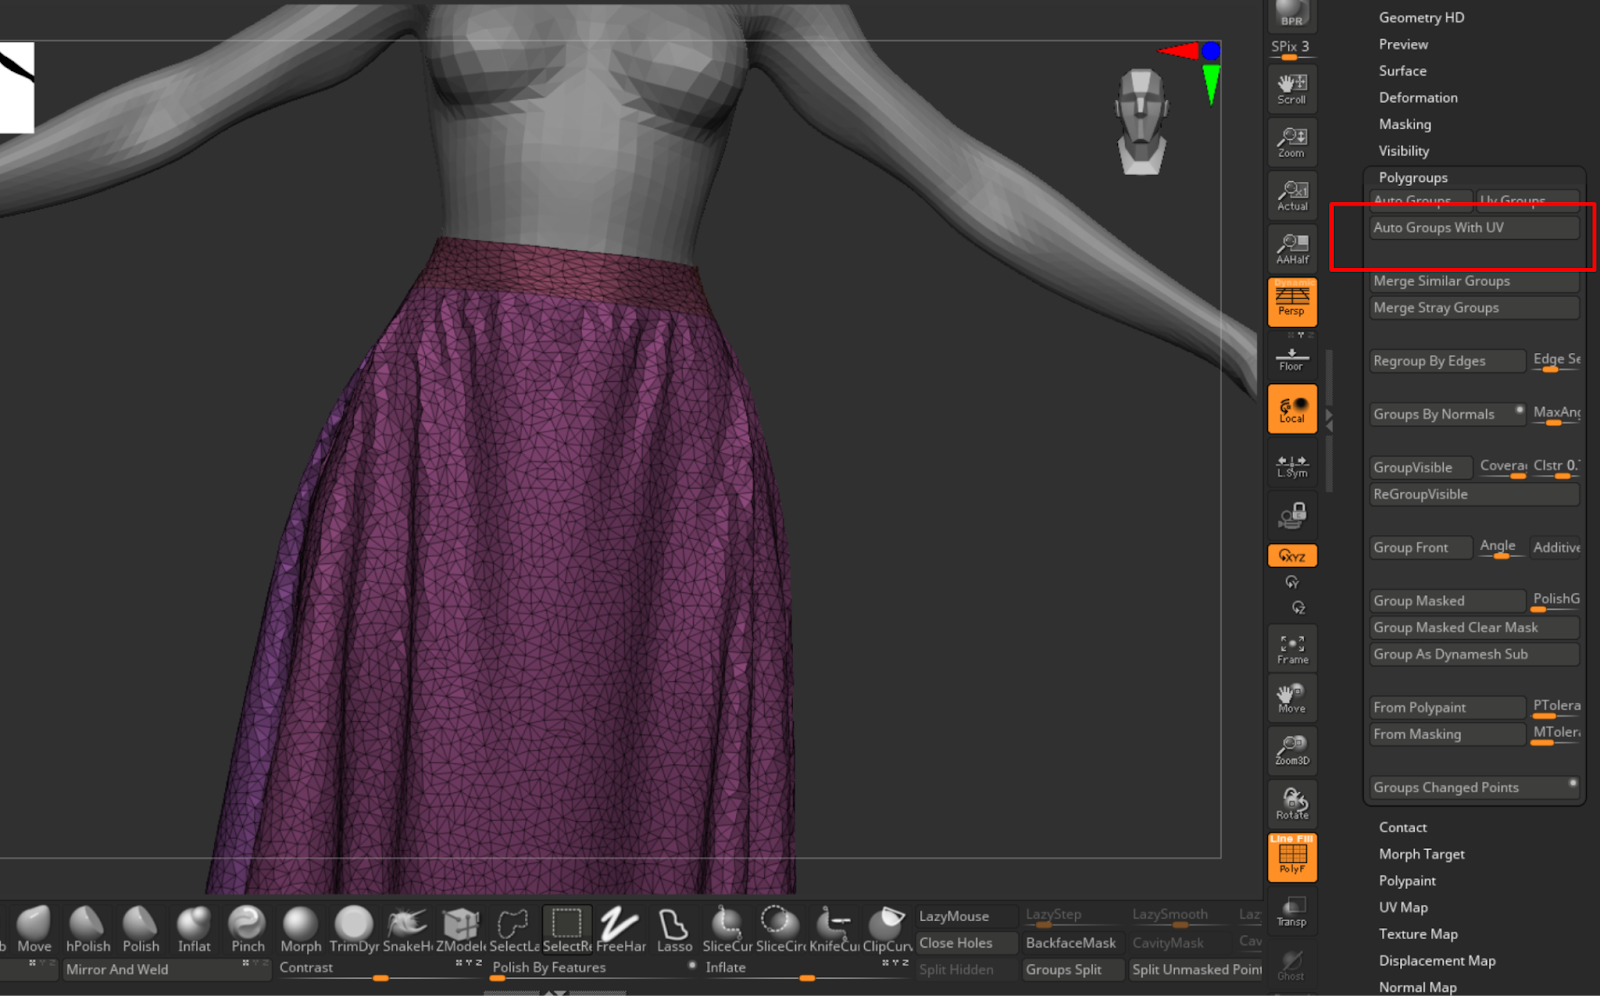
Bring back the playgroups by using poly group by UV
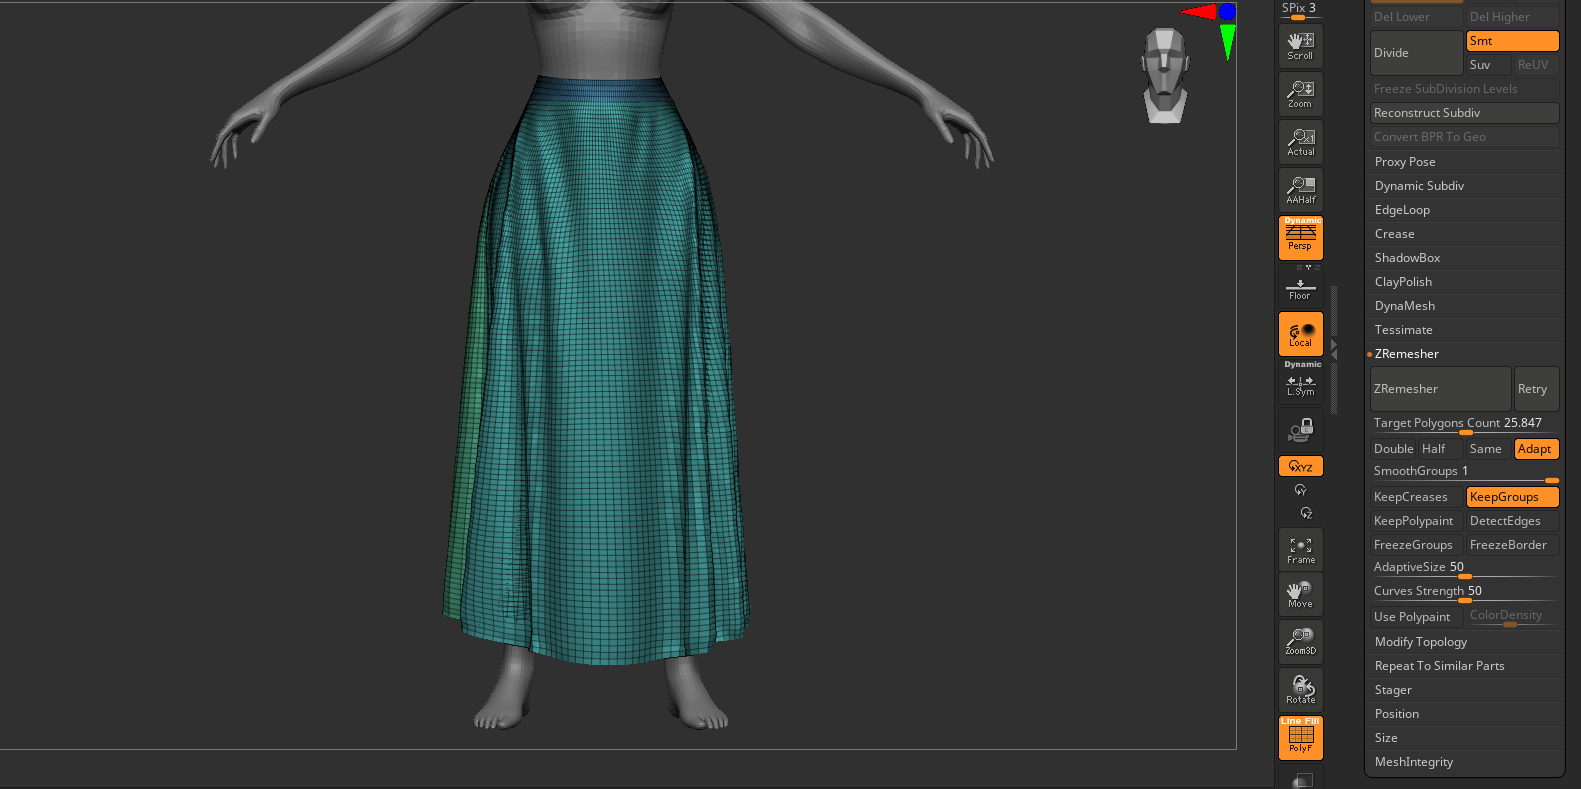
* Zremesh with high count to capture all the folds
Merage groups to get rid of unwanted seams
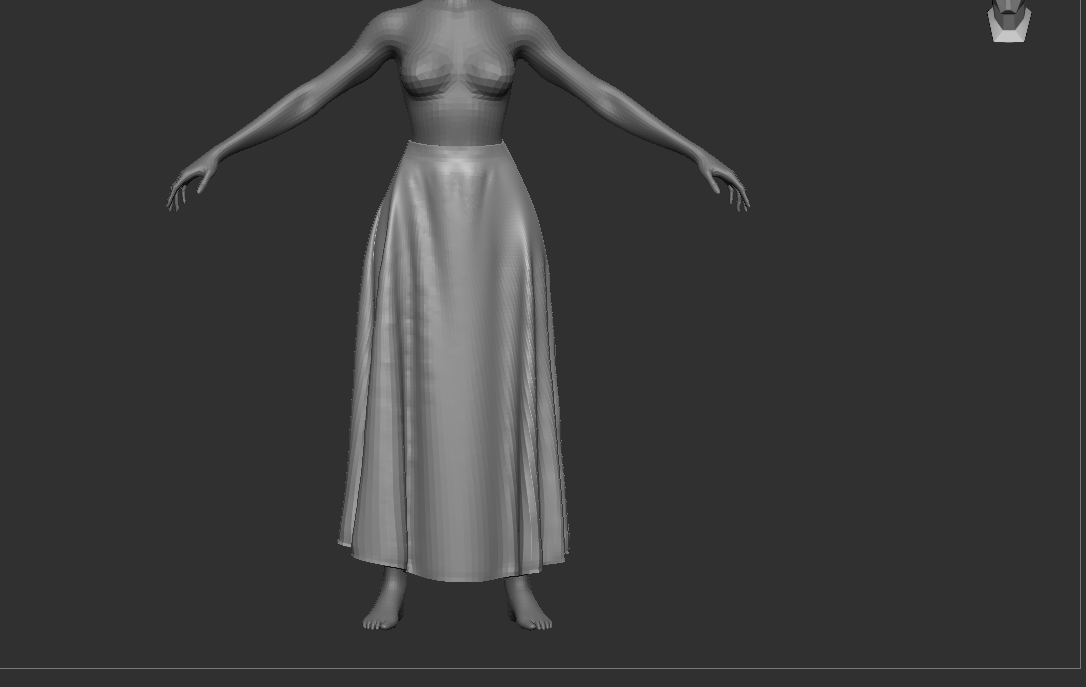
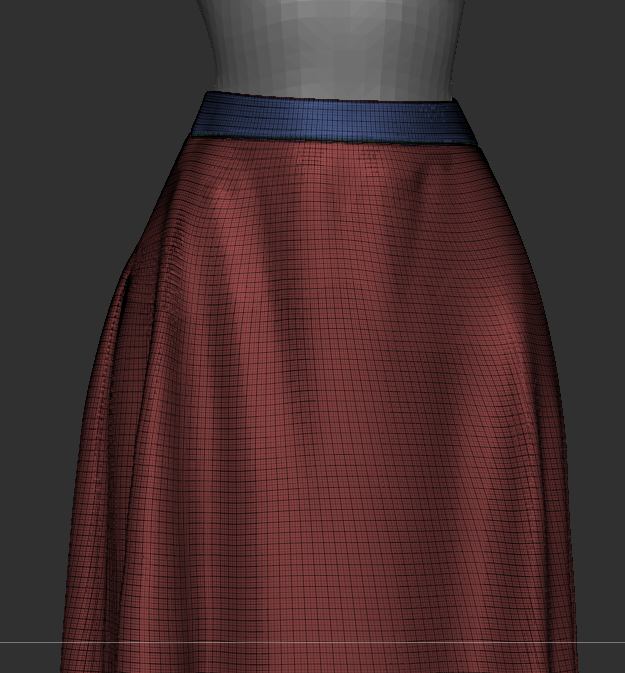
Add thickness using panel loops
Ctrl D to add divisions
Now you have simulated cloth with good topology to sculpt on!
Helpful links: